Restriction Enzyme Cloning Overview
This post provides details on how to perform restriction enzyme cloning with Mendelgen's molecular cloning tools. The overall steps of restriction enzyme cloning are:
- Restriction digestion of a backbone and insert with restriction enzymes
- Ligation of the gene of interest into the backbone
Before restriction digestion, you must carefully select the backbone and insert sequences to ensure they contain proper cut sites in suitable locations. If too many cut sites exist on either sequence, too many fragments will result, and you won't be able to make your desired vector.
Restriction enzymes cut double-stranded DNA in one of two ways, either resulting in sticky ends with single-stranded overhangs or blunt ends that do not have overhangs. If sticky ends exist on the fragment from the backbone, they must also exist in the fragment from the insert and vice versa. Your restriction enzyme choice is vital during the ligation step as the backbone and insert must have been cut with compatible restriction enzymes.
When using sticky ends, the single-stranded overhangs on the backbone and insert must be complementary to each other so they can anneal through base pairing. Suppose you use two restriction enzymes that produce differing sticky ends. In that case, you can use base pairing to manage which ends of the backbone fragment and insert fragment will be complementary, thus directing the orientation of the insert in the backbone. If you only use one restriction enzyme, the same sticky ends get produced, but you can't control the orientation. To seal your digested backbone and insert, you mix them and use DNA ligase, which forms covalent bonds between the two creating your final cloning vector.

Restriction Cloning Overview: The above diagram shows the general methodology of restriction cloning with the restriction digest of the backbone and gene-of-interest insert with restriction enzymes followed by ligation of the DNA fragments to a final cloning vector.

Restriction enzyme cloning with sticky ends: The diagram above shows an example of directional restriction cloning with sticky ends. The backbone and insert get cut by compatible enzymes, leaving single-stranded DNA overhangs called sticky ends. These sticky ends ensure the insert is in the correct orientation and anneal through complementary base pairing between the backbone and insert. Finally, the backbone and insert get ligated together, forming the final cloning vector.
Using Mendelgen's restriction enzyme cloning tool
Performing a restriction enzyme cloning simulation is easy with Mendgelgen. To get started, follow the steps outlined below:
- Sign in to Mendelgen.
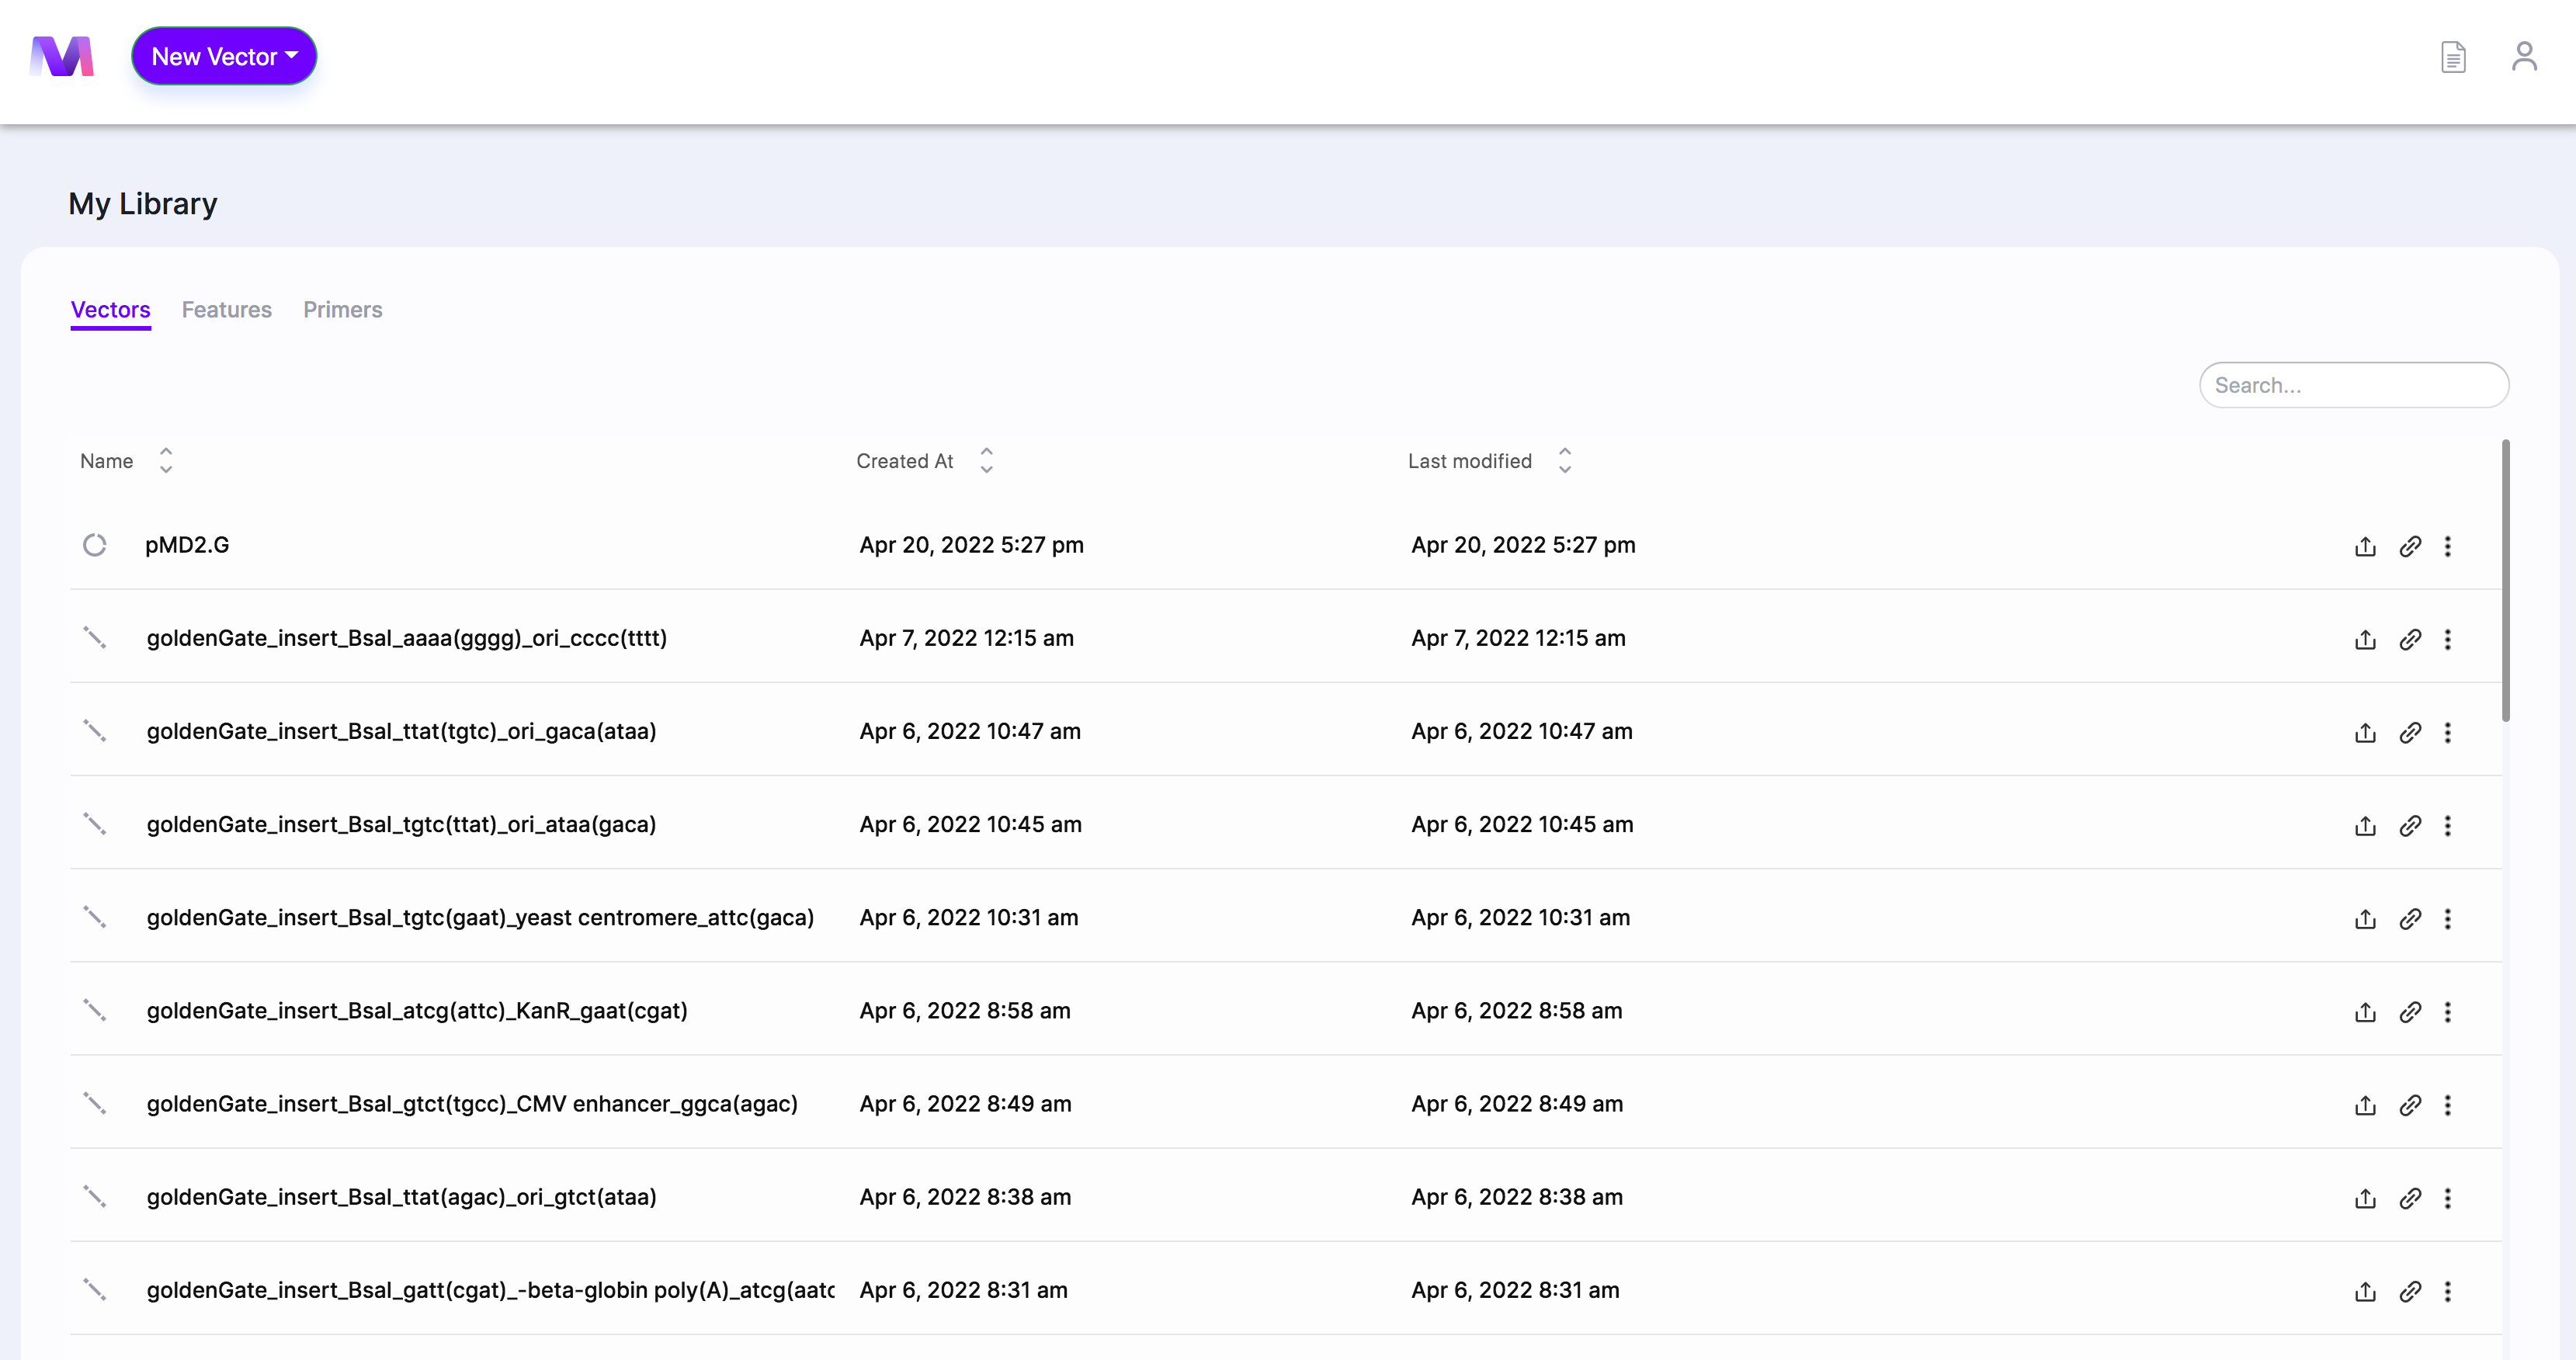
- Select a vector from your library to be used as the backbone.
- The backbone must already contain the restriction sites.
- When the page opens, you'll see the backbone you chose in the viewer.
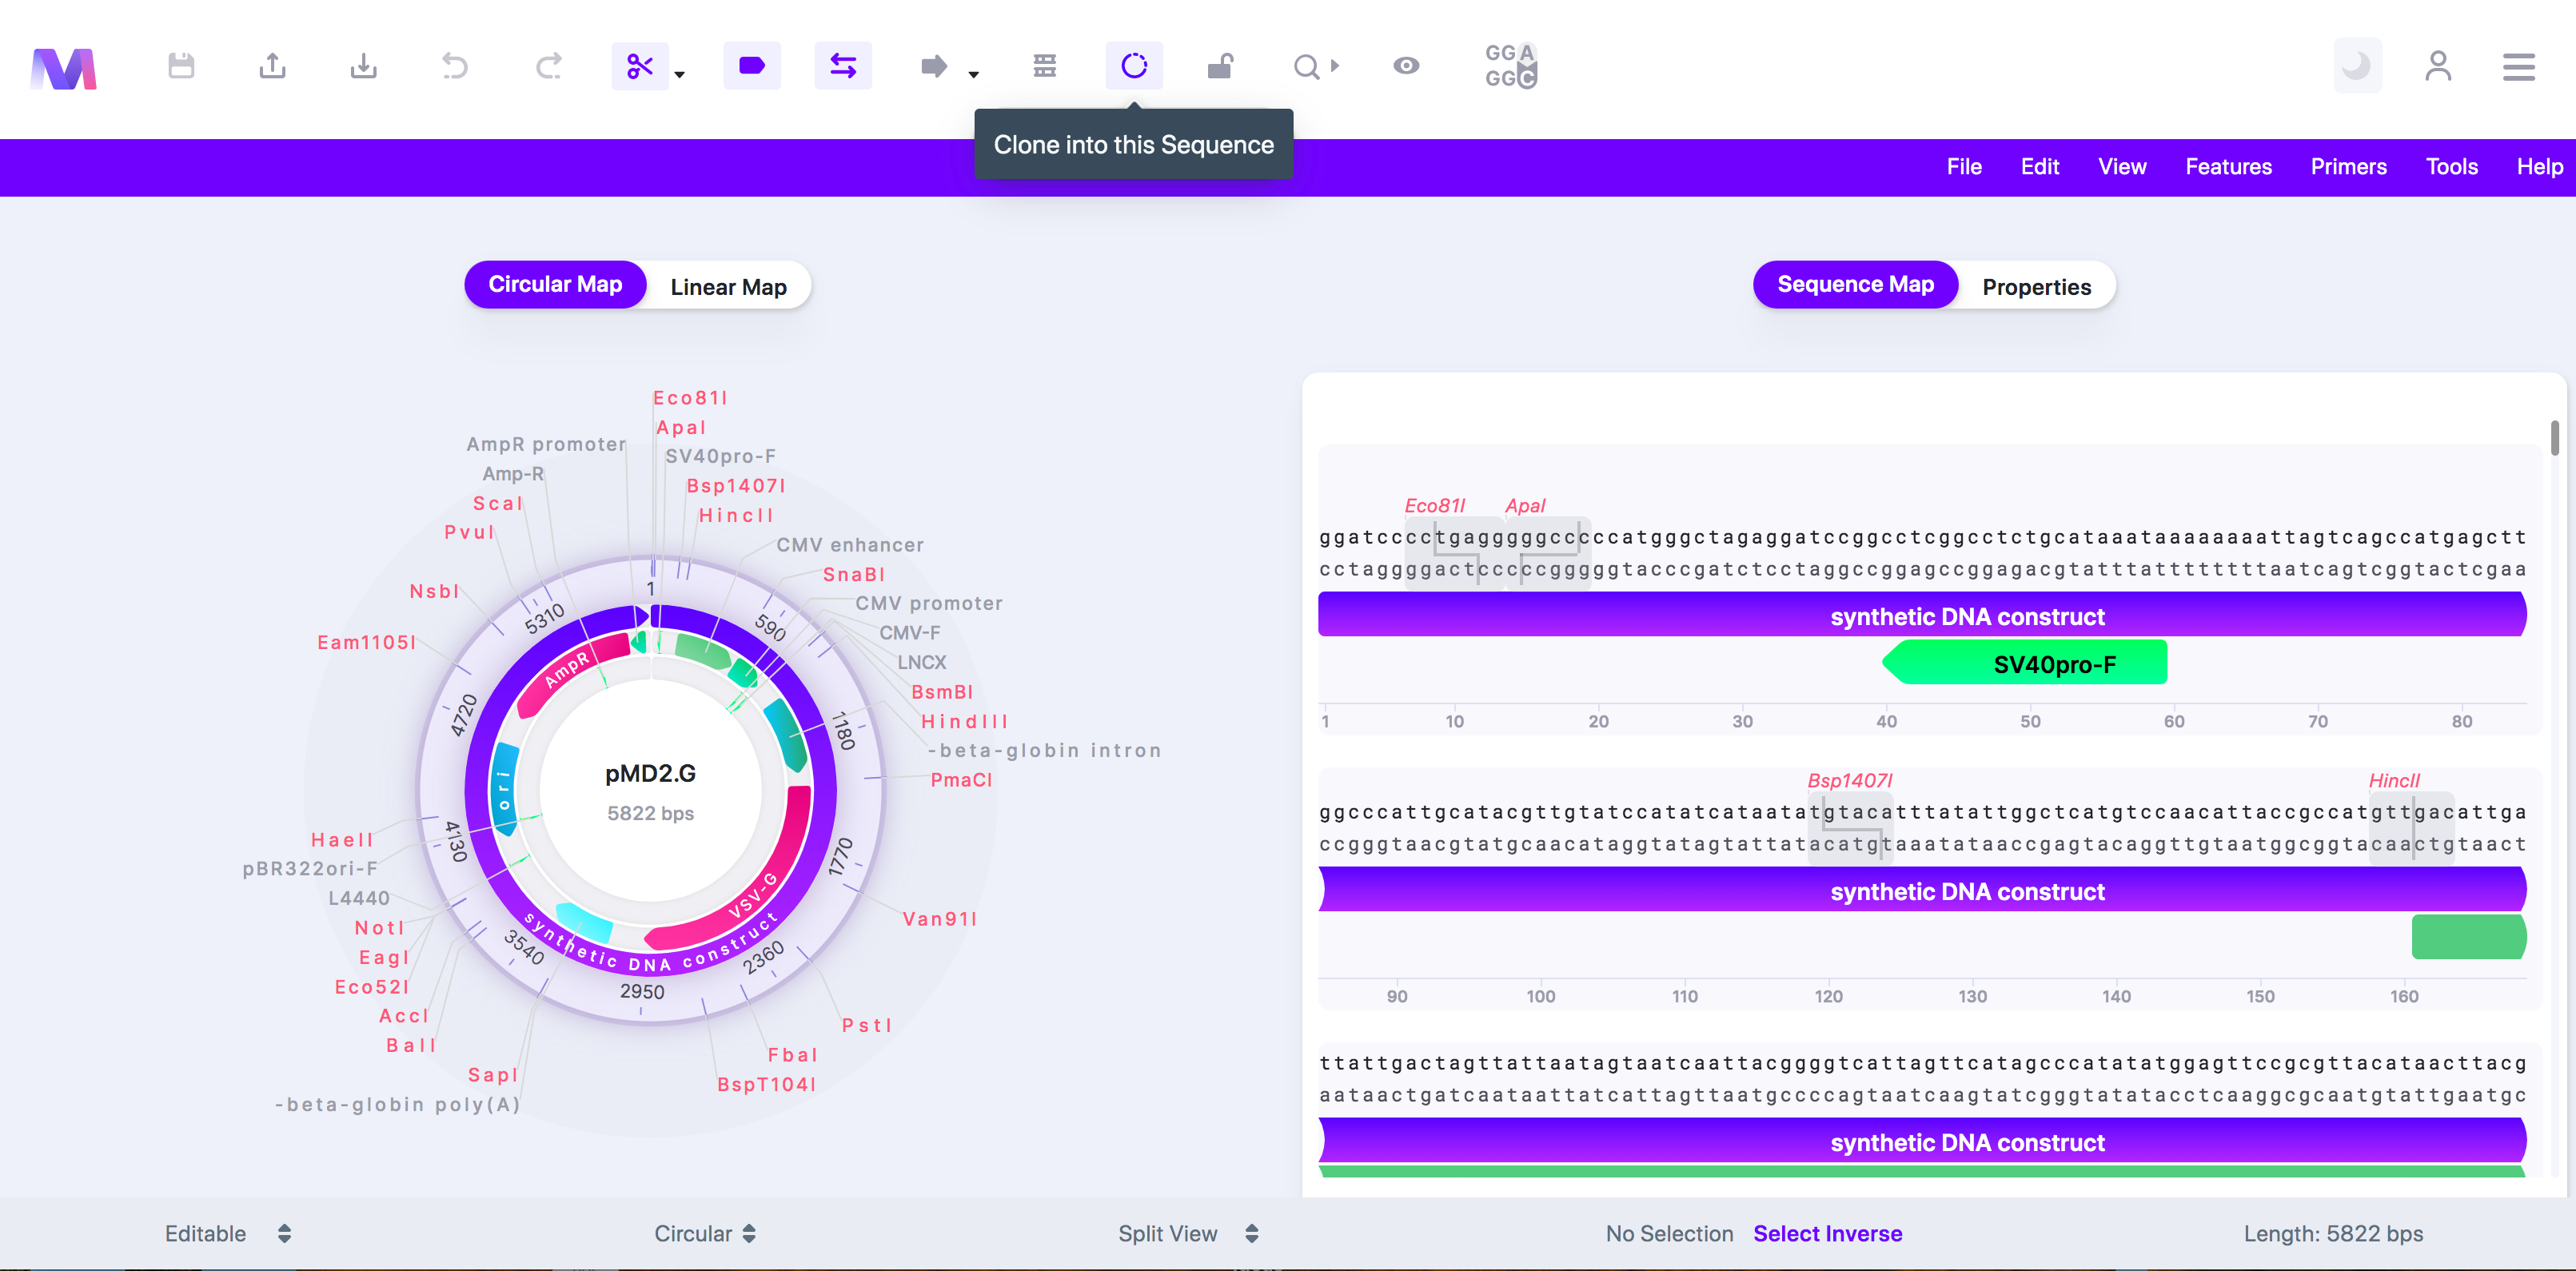
- Click the cloning tool button, displayed as a circular DNA sequence, in the toolbar at the top of the page.
- Select 'Restriction Cloning' in the dropdown.
- A tab titled 'Create a Restriction Cloning Vector' will open to the viewer's right panel.
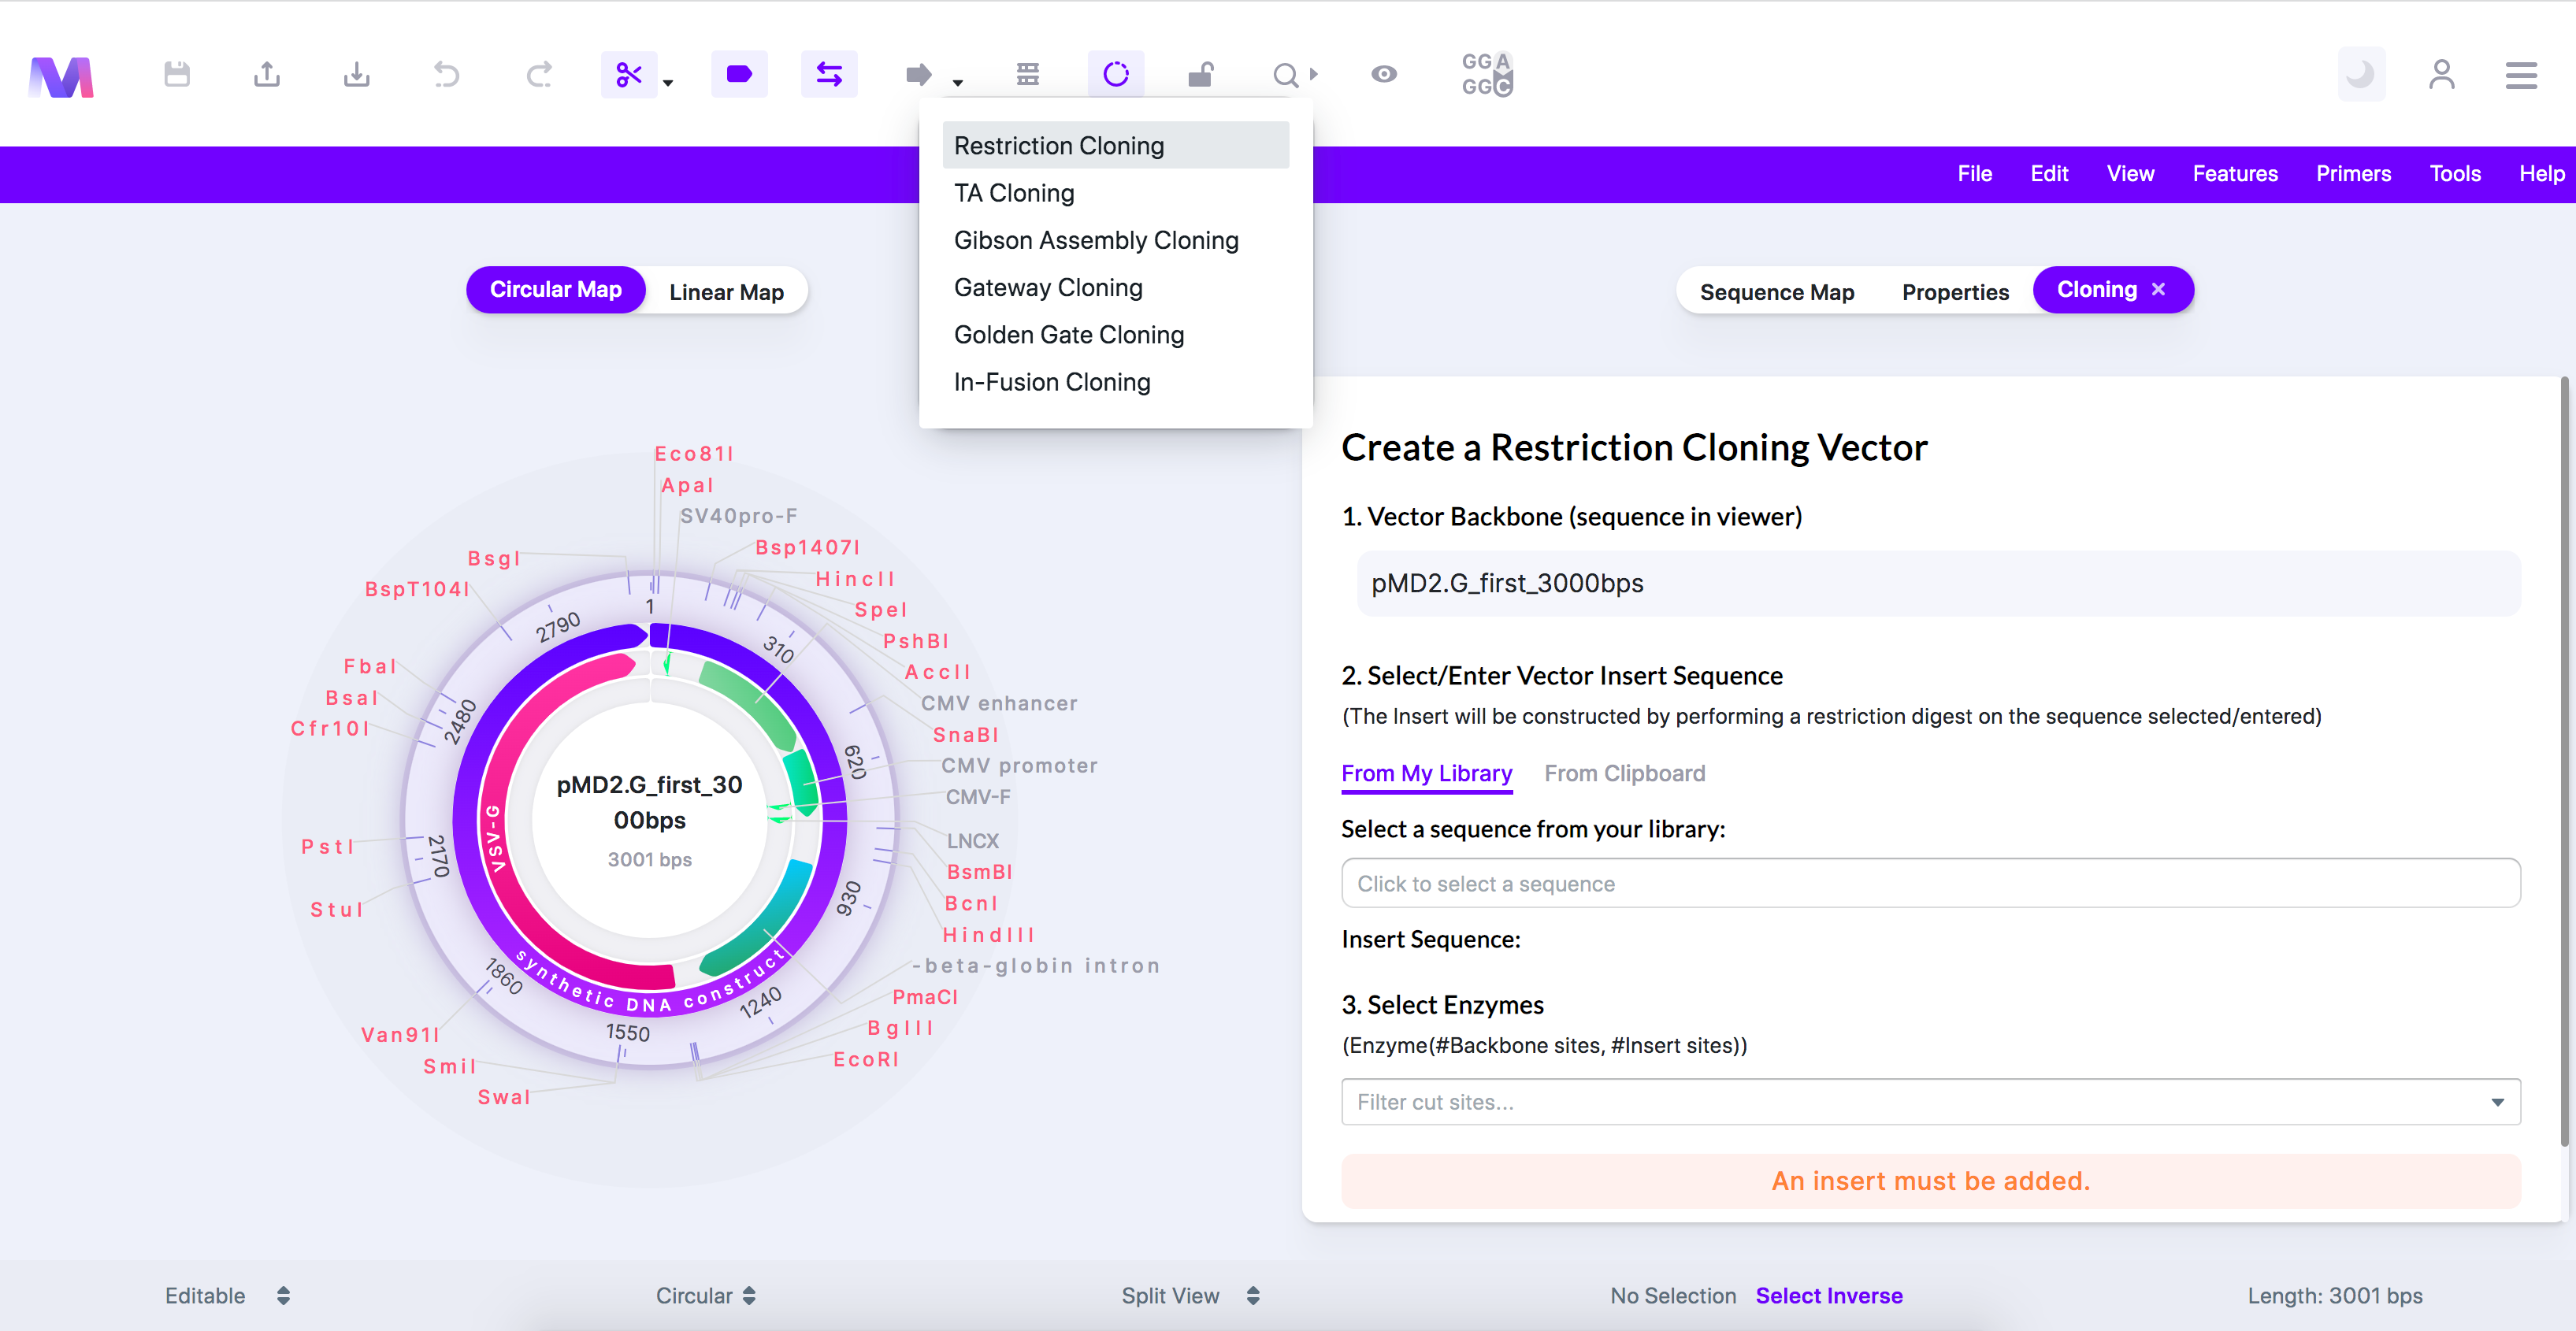
- A tab titled 'Create a Restriction Cloning Vector' will open to the viewer's right panel.
- You should now see the backbone is the sequence displayed in the viewer.
- Select or enter the insert sequence containing your gene of interest.
- 'From My Library' is preselected, but you can also choose 'From Clipboard.'
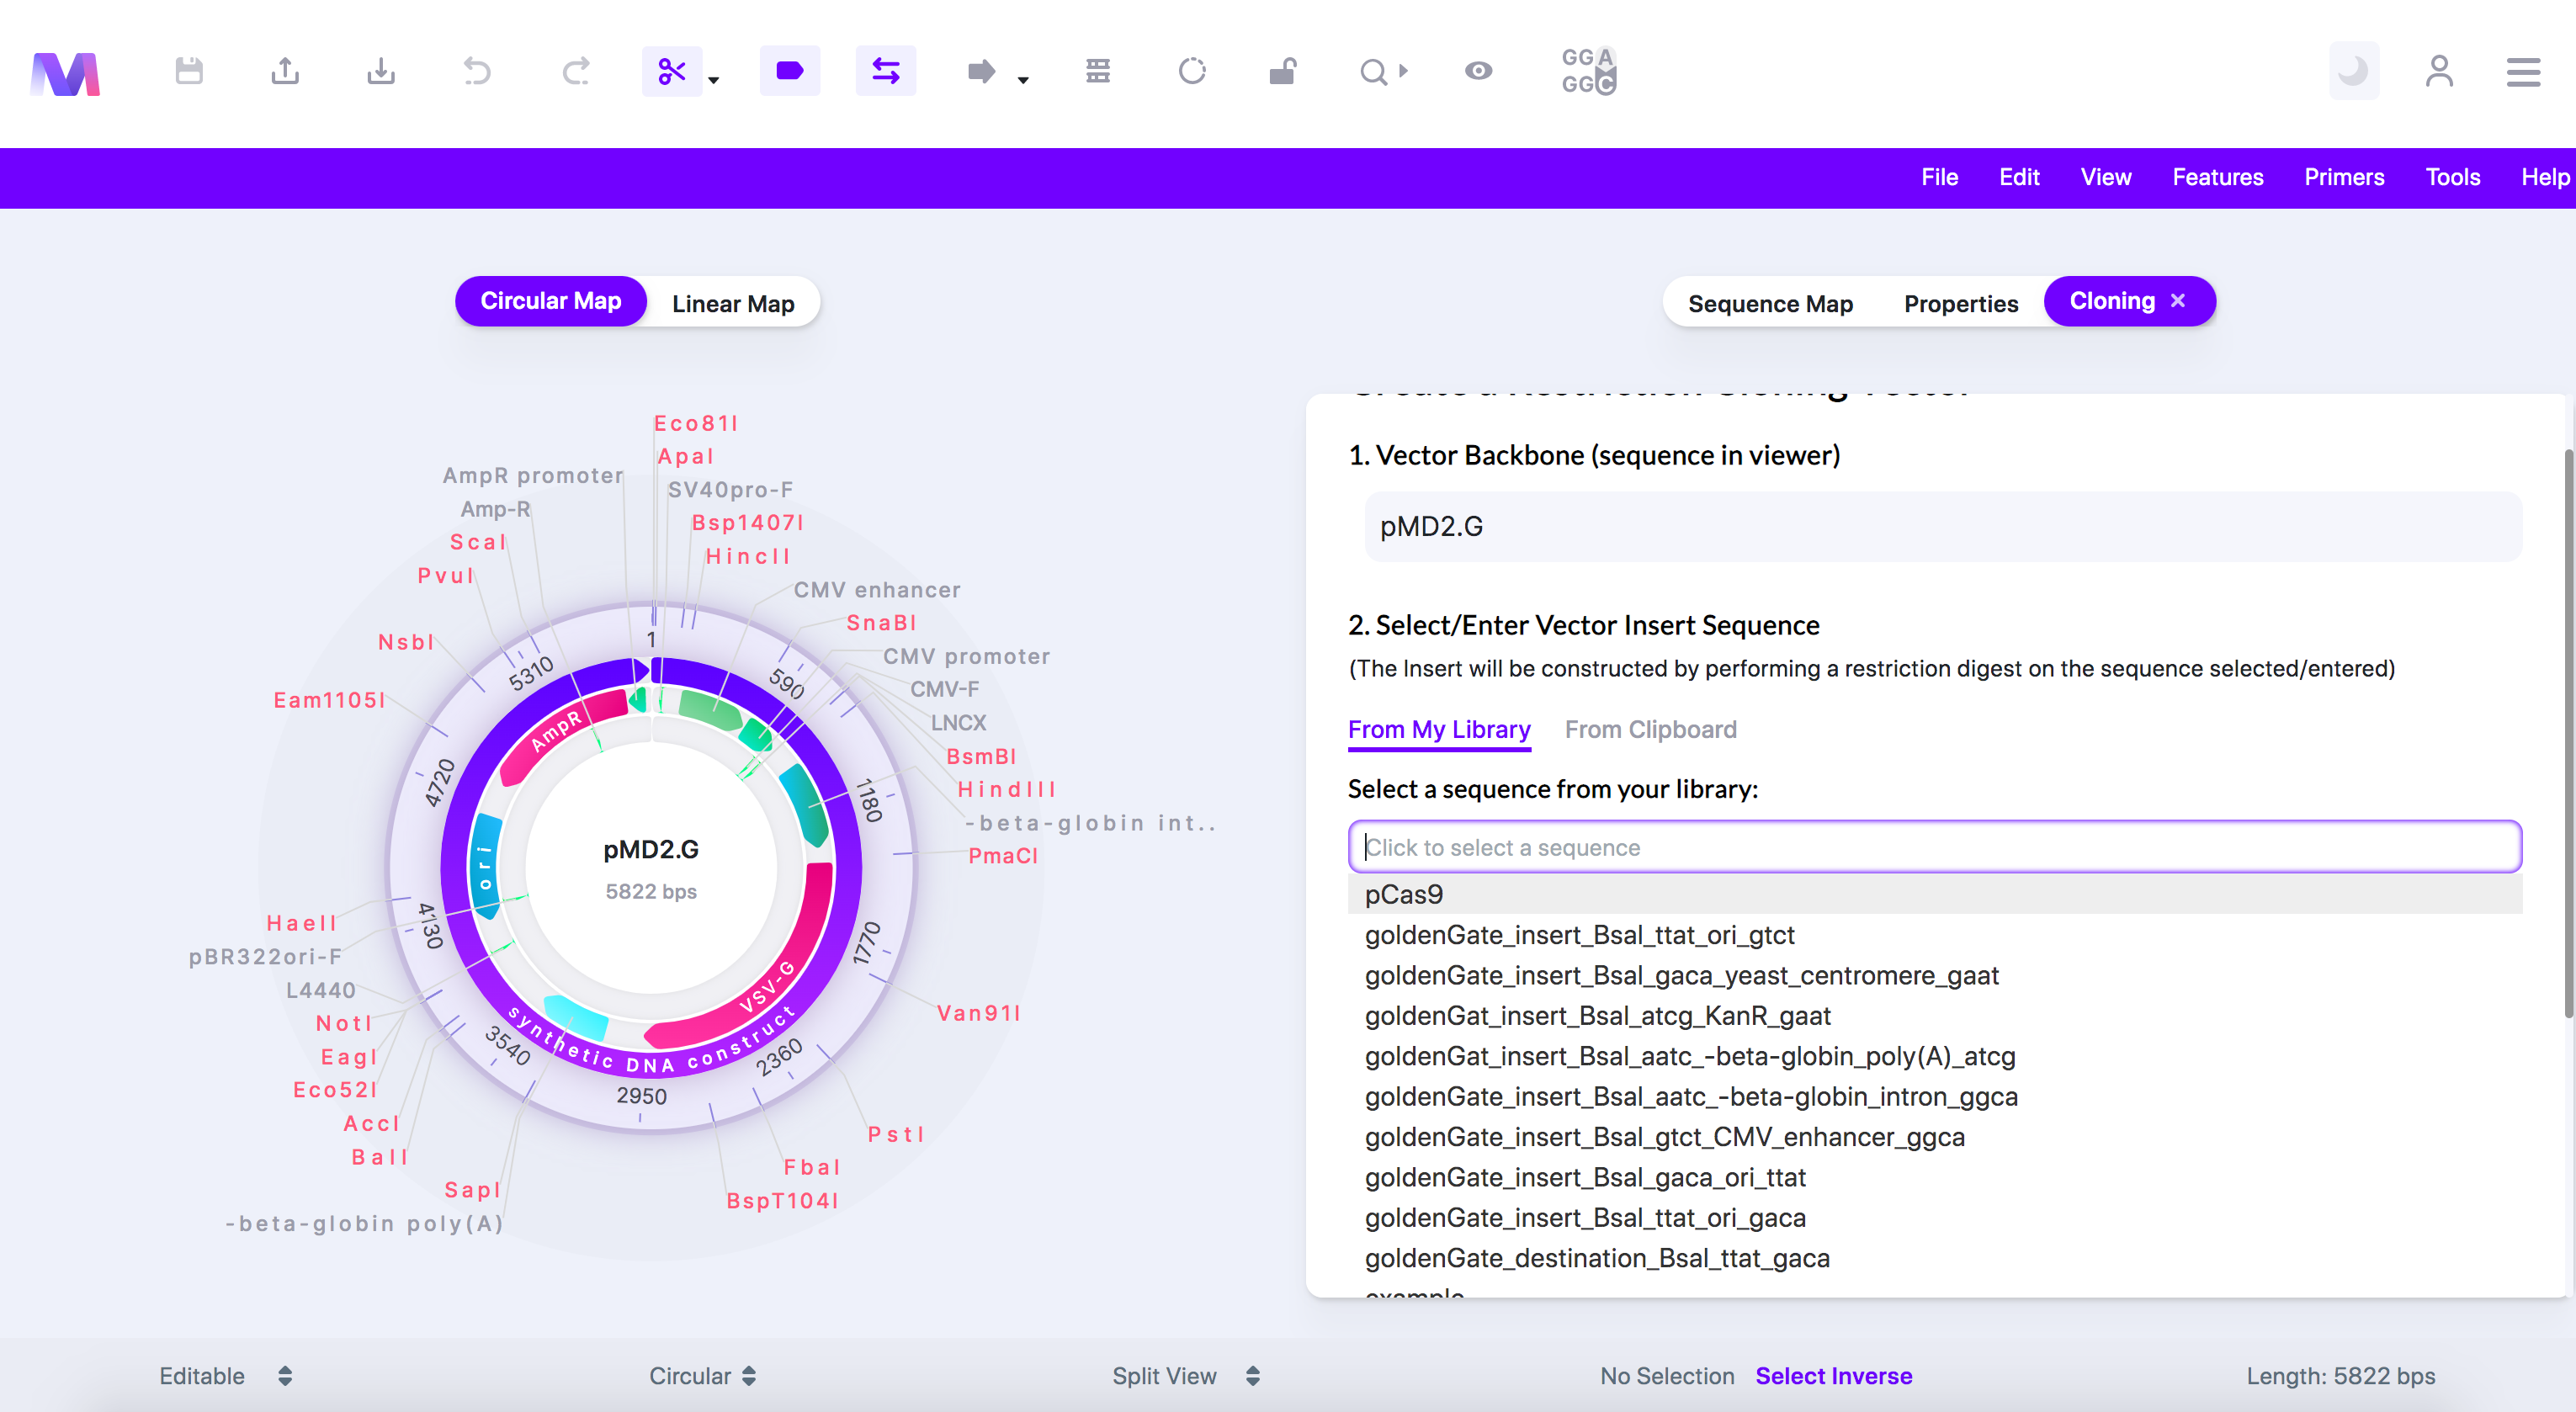
- 'From My Library' lets, you select a sequence from your library.
- If you choose a sequence from the dropdown, it will get automatically under 'Insert Sequence.'
- You can view this sequence in a new tab by clicking the sequence name once it's added to 'Insert Sequence.'
- The dropdown in 'From My Library' opens to select an insert sequence.
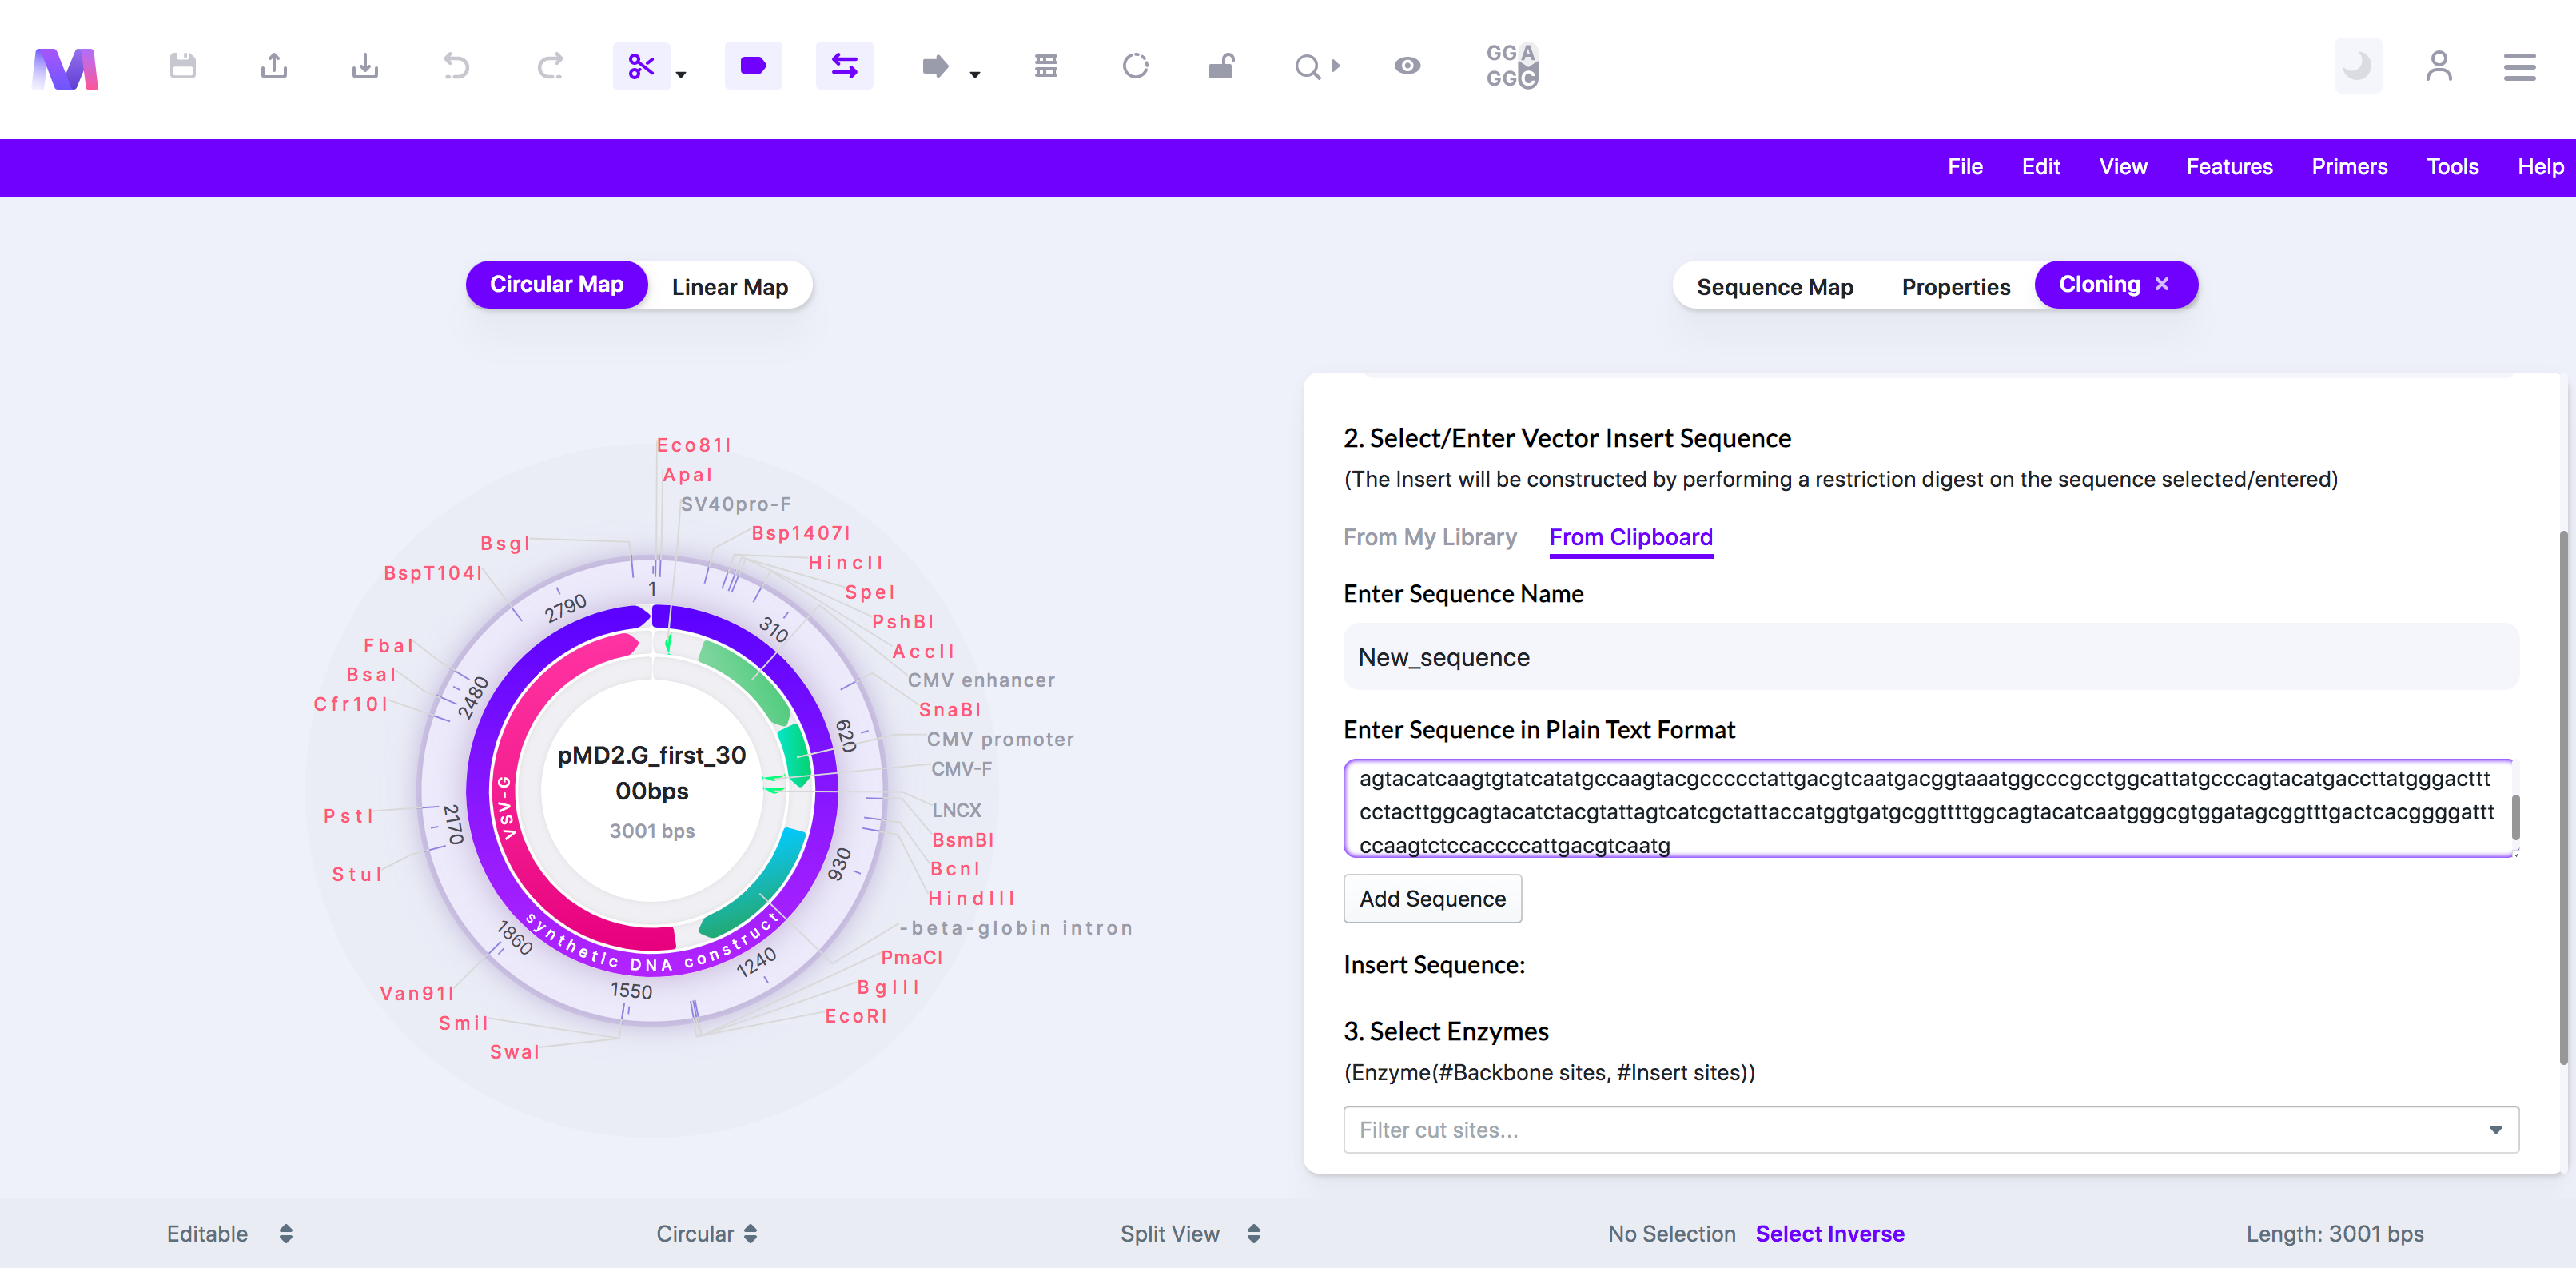
- 'From Clipboard' lets you enter a new sequence manually.
- Enter the Sequence Name.
- Enter the full sequence.
- Click 'Add Sequence,' and it will get added under 'Insert Sequence.'
- 'From My Library' lets, you select a sequence from your library.
- You can only add one insert sequence per cloning procedure.
- The sequence must already contain the restriction sites.
- 'From My Library' is preselected, but you can also choose 'From Clipboard.'
- Check if the correct insert was added under 'Insert Sequence'
- If you want to remove the insert, click the 'X' to the right of the sequence name.
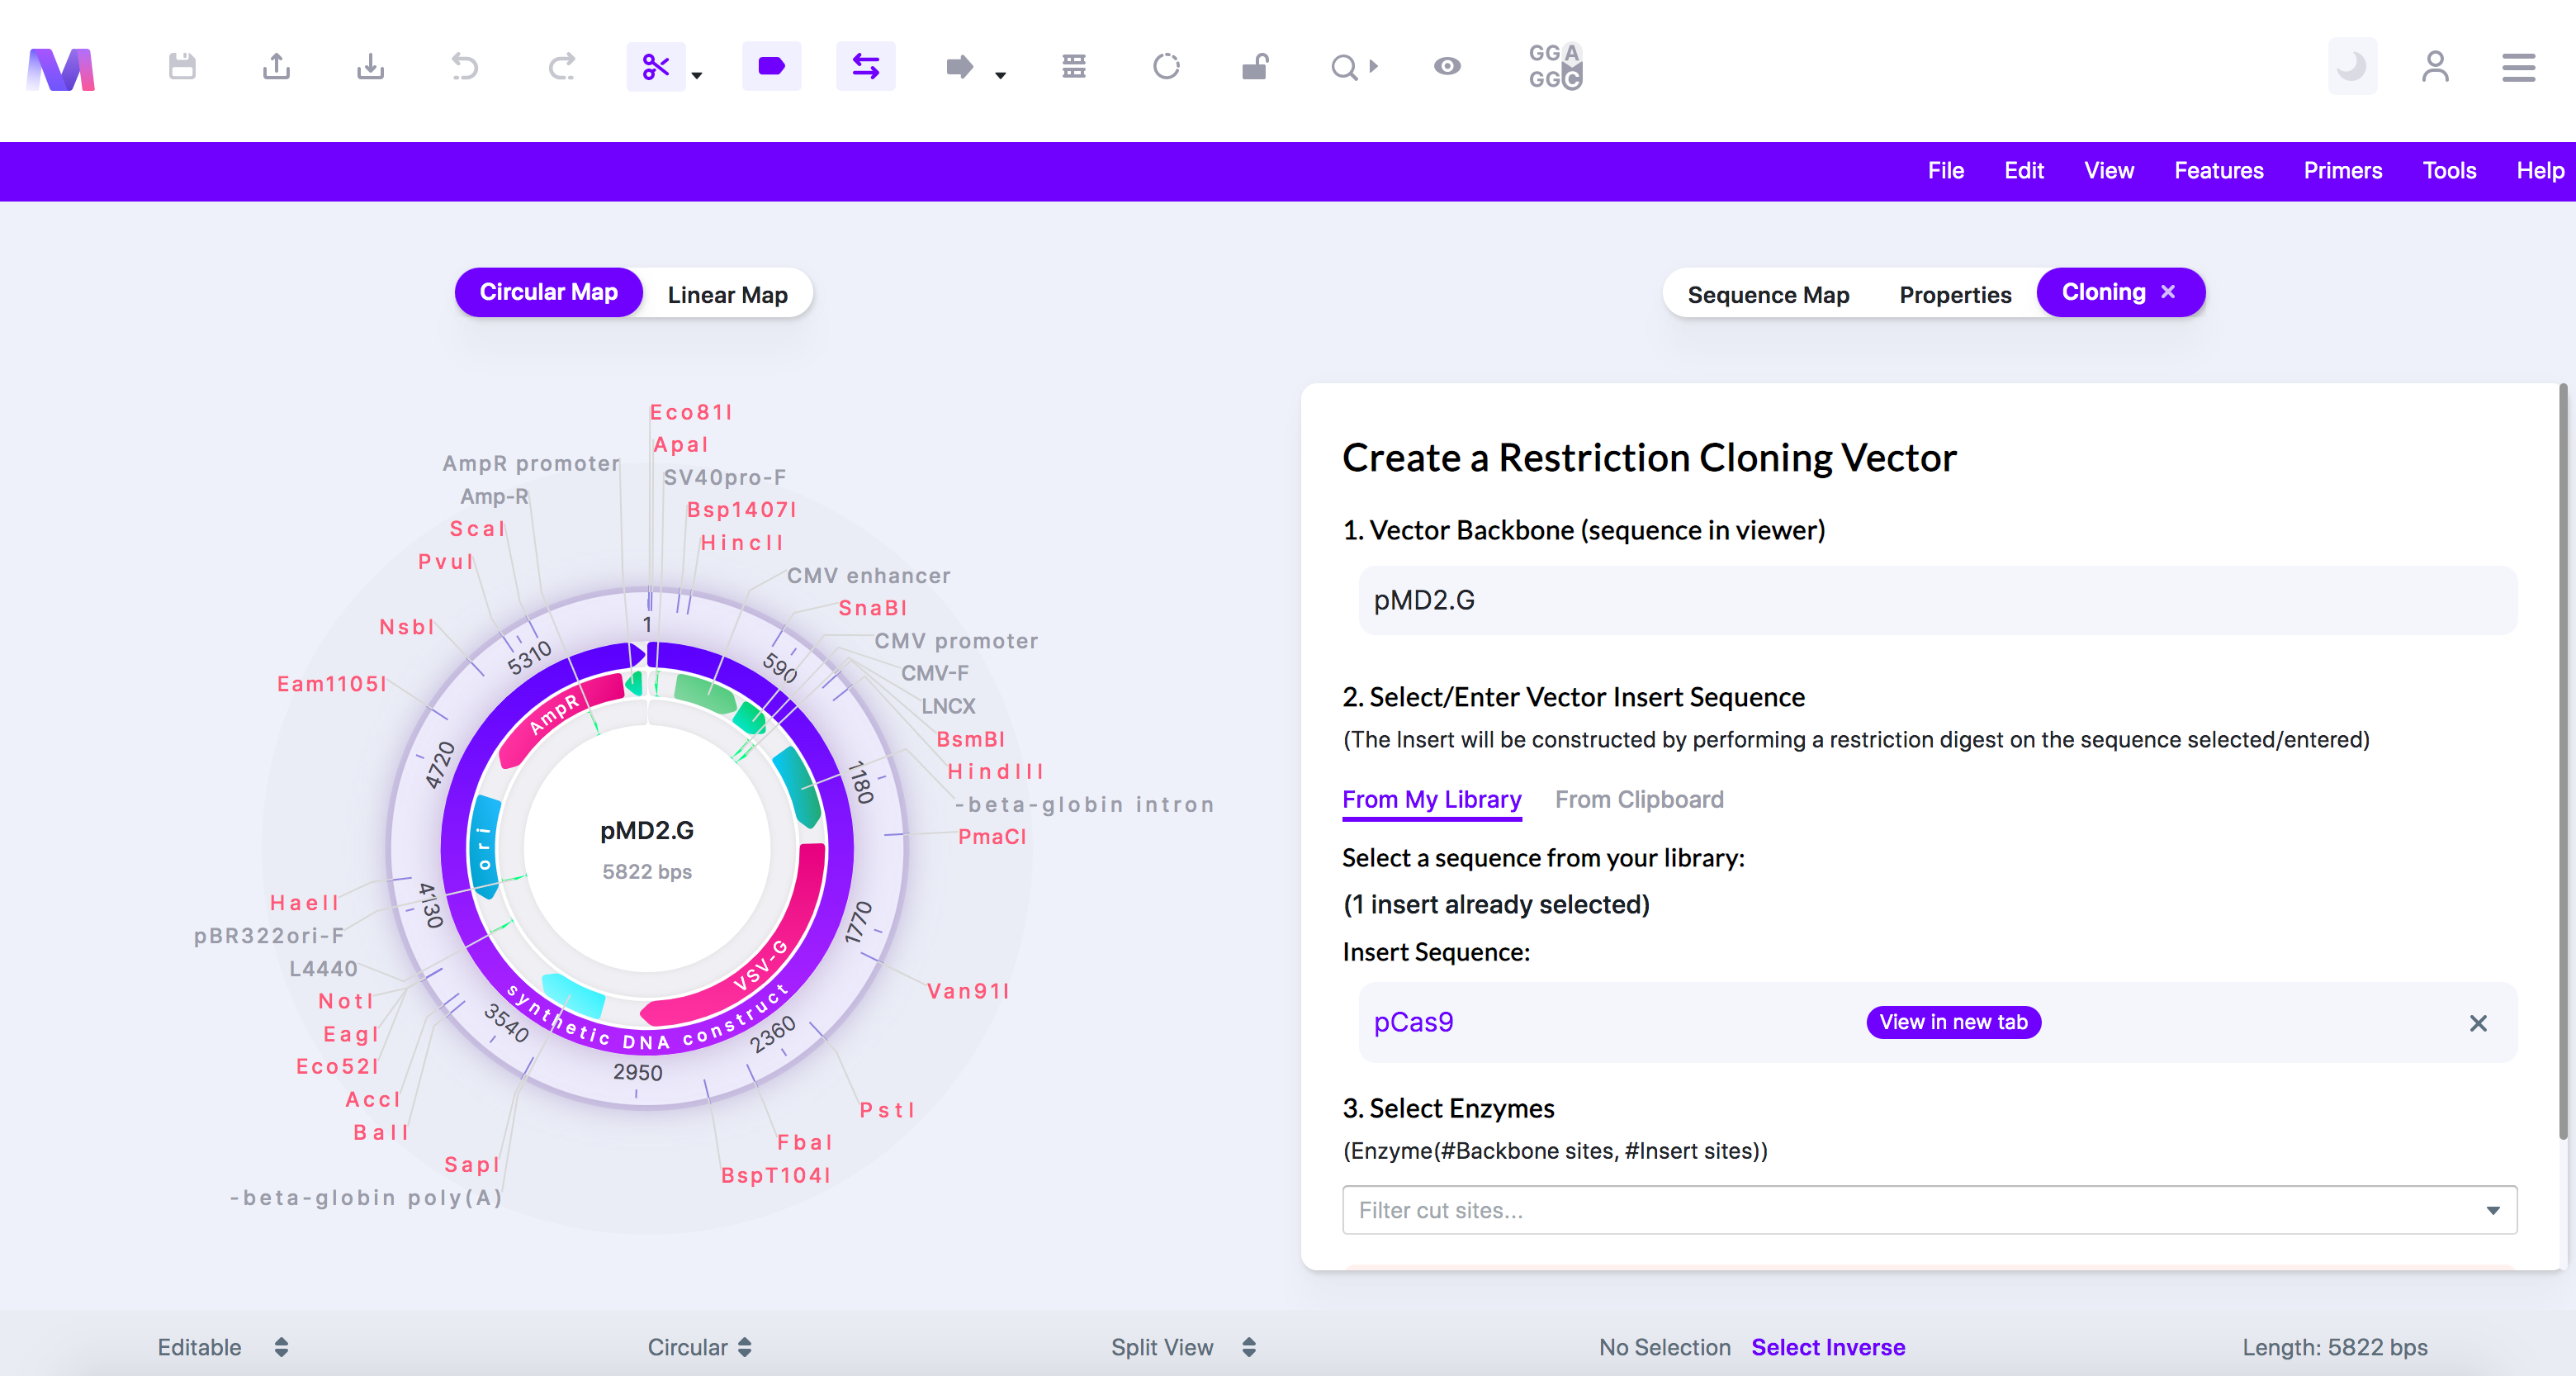
- If you want to remove the insert, click the 'X' to the right of the sequence name.
- Select the restriction enzyme(s).
- Choose enzymes you want to use to digest the backbone and inserts.
- Select the enzyme(s) dropdown open to choose the enzyme(s).
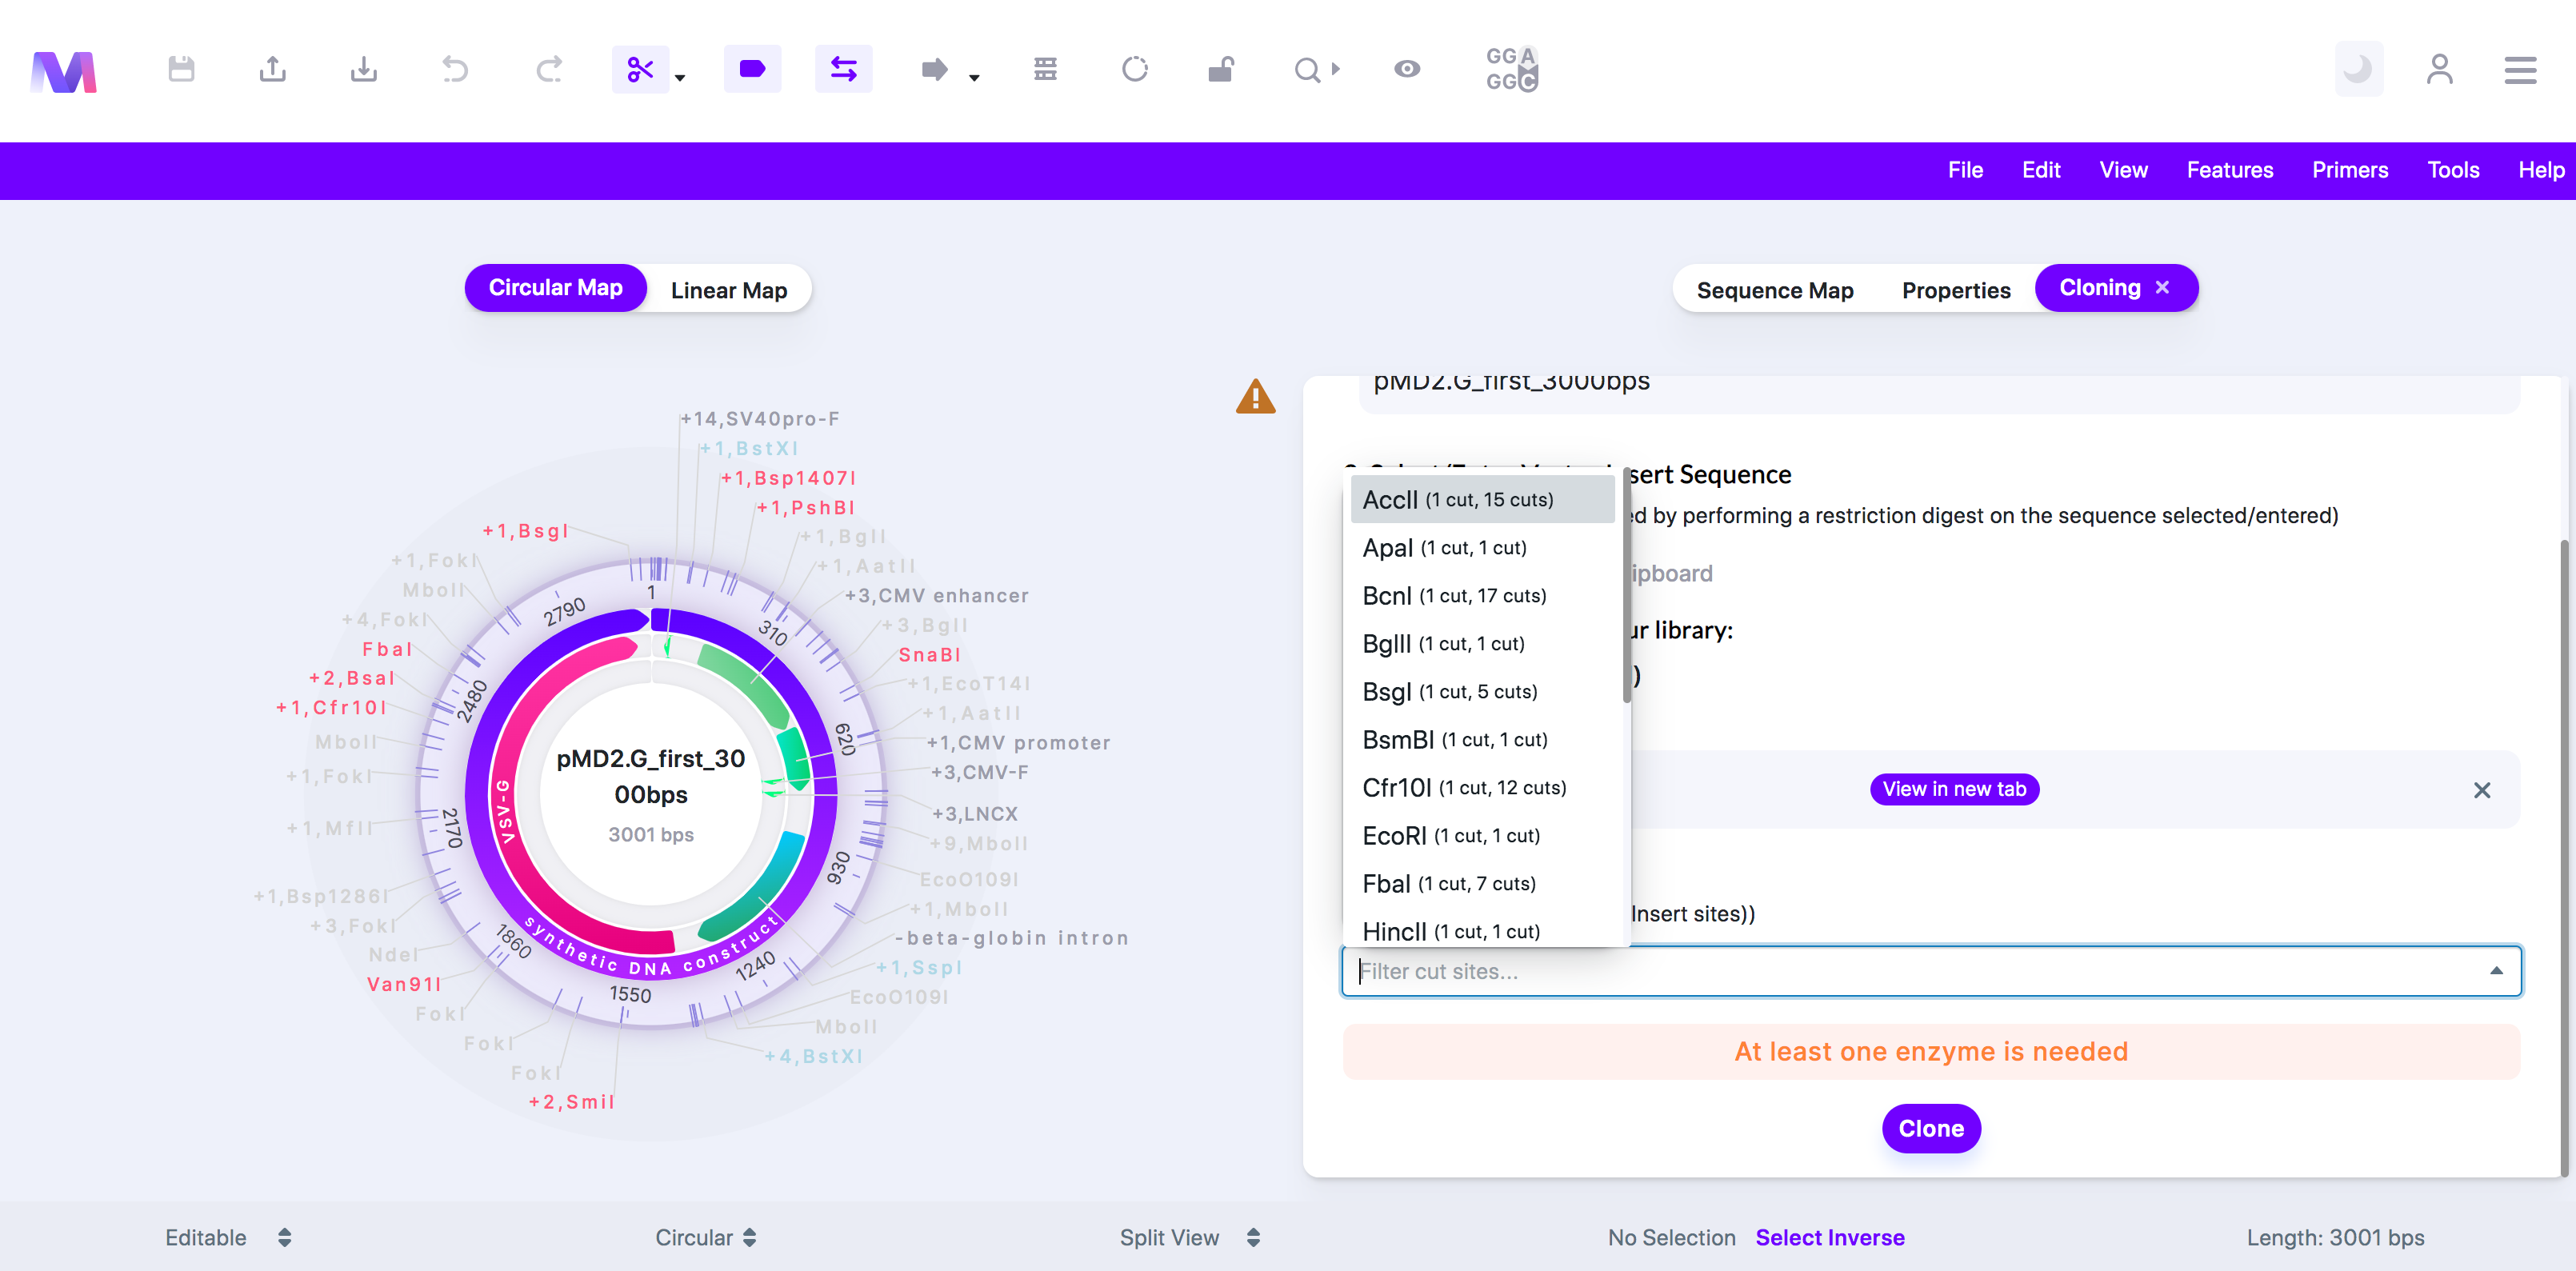
- The backbone and the insert must each get cut two times.
- Click the 'Clone' button to perform a Restriction Cloning simulation.
- You will not be able to click 'Clone' if any errors exist.
- An error highlighted above the cloning button preventing cloning.
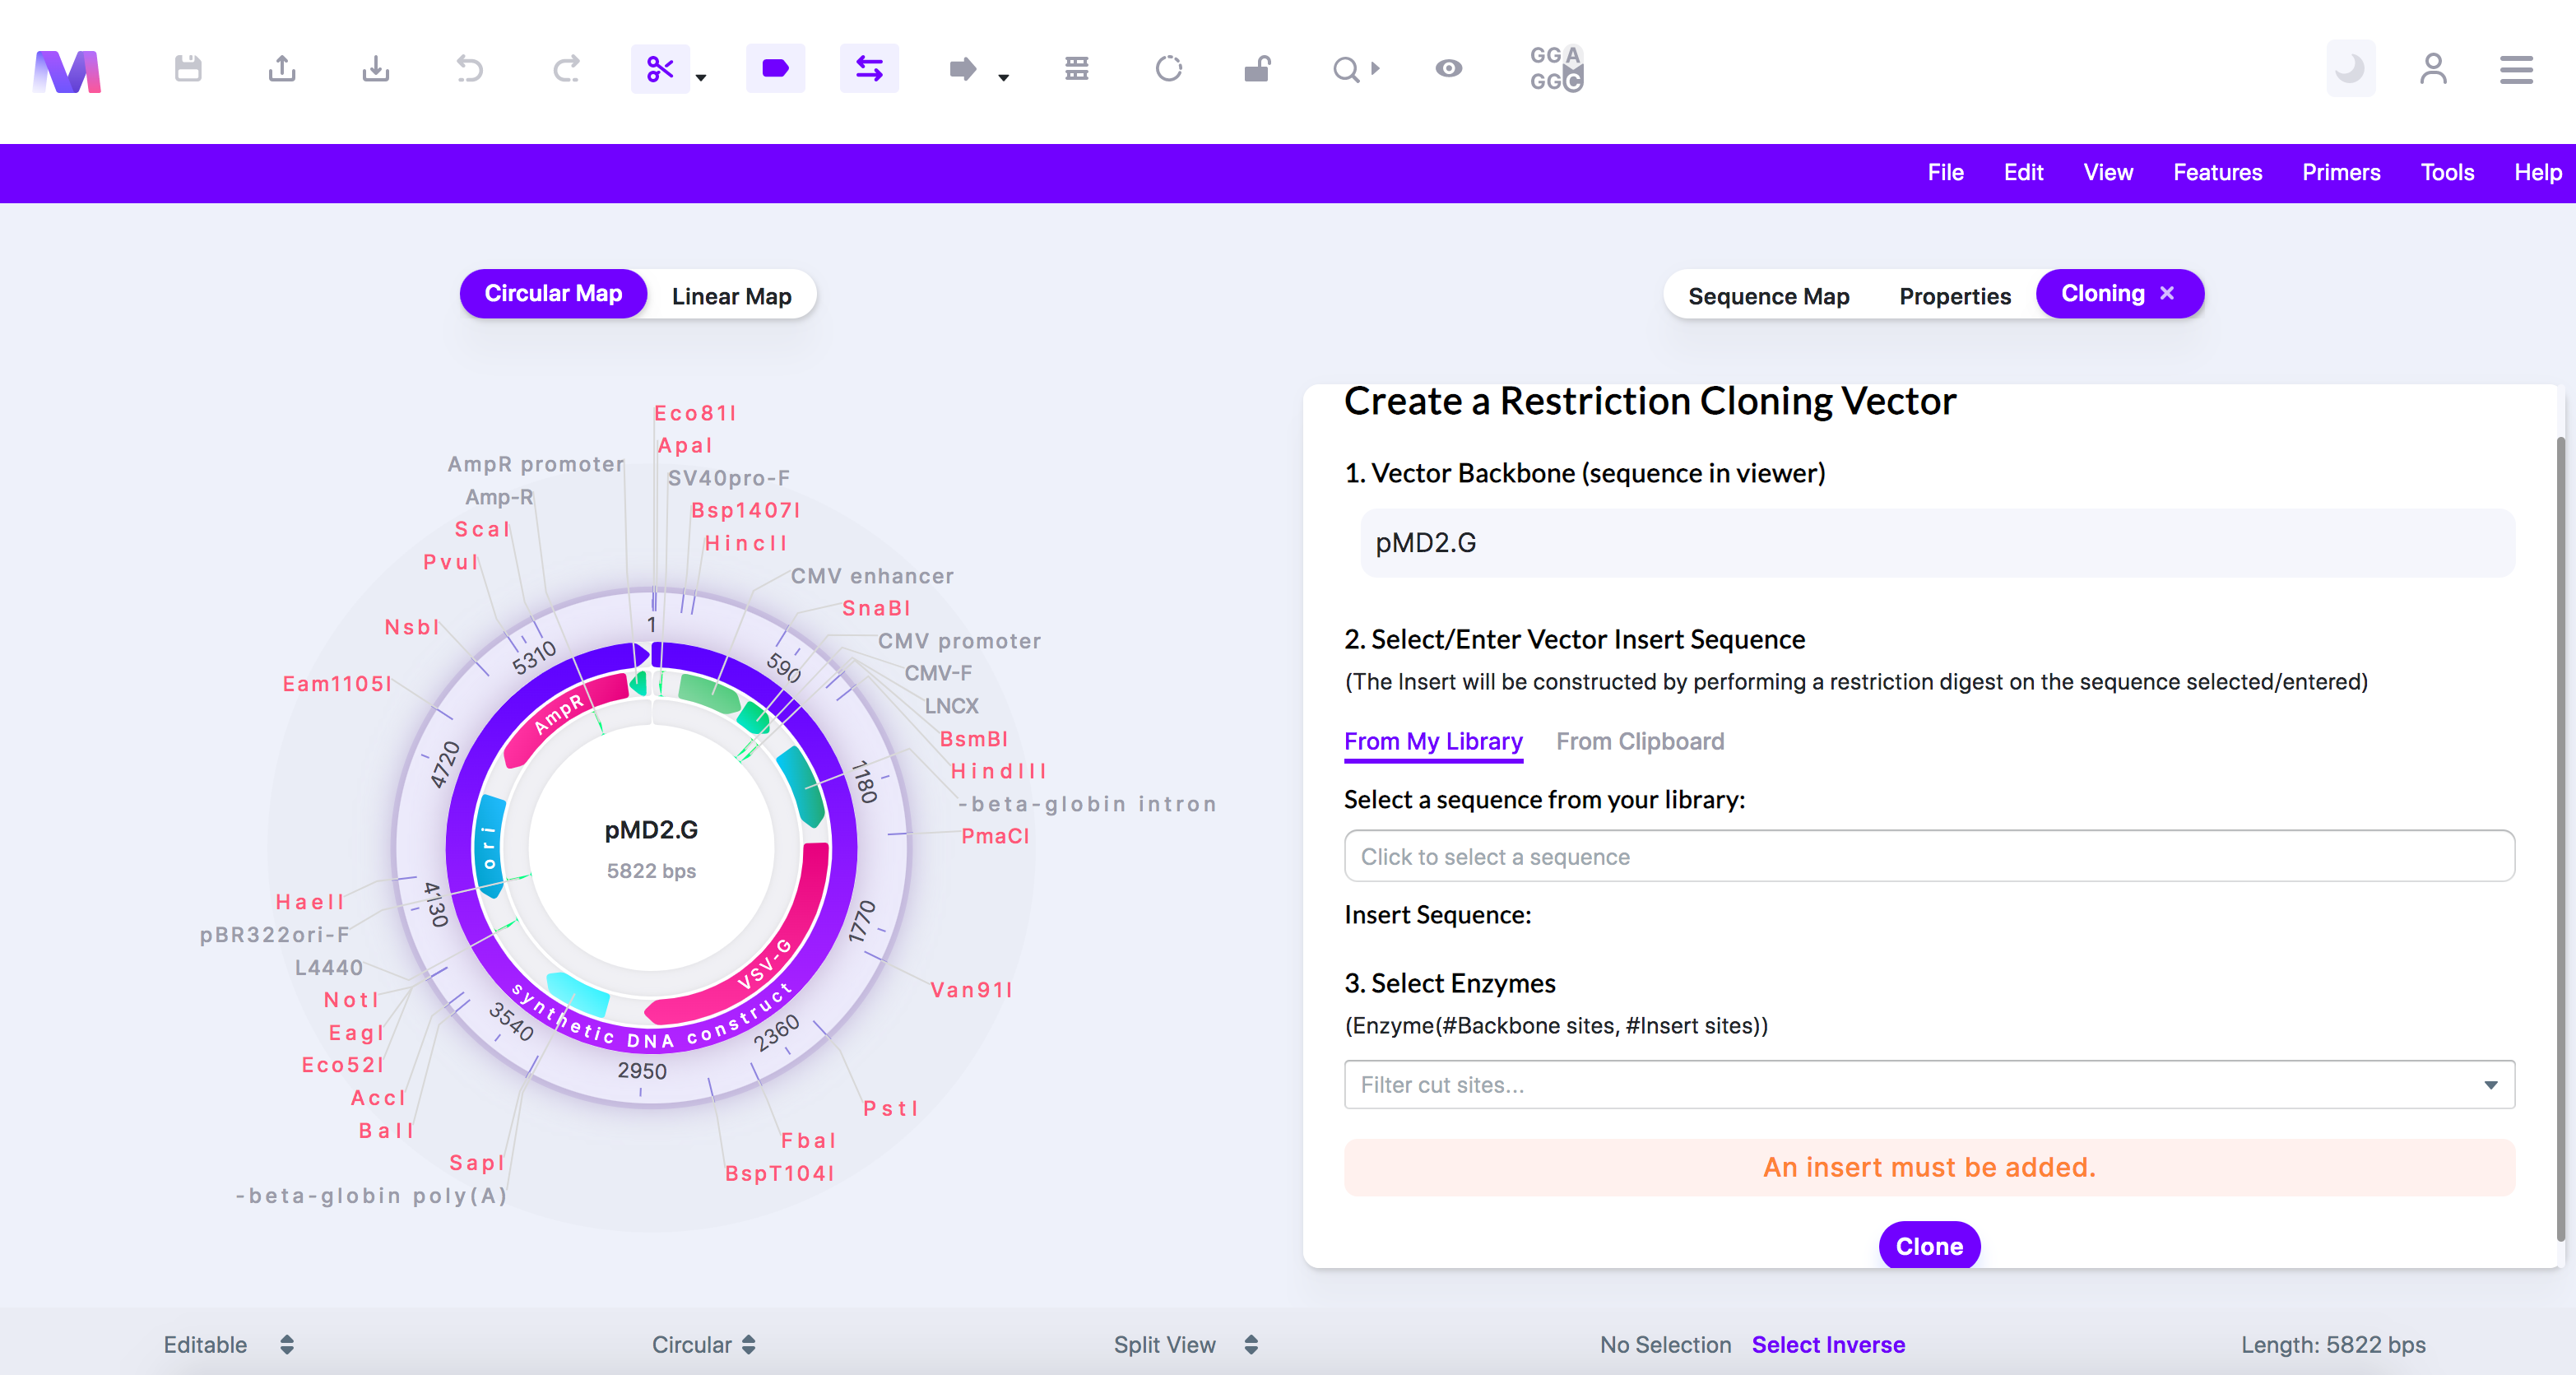
- Errors and their description
- 'An insert must be added.'
- 'Too many inserts have been added. Only one is allowed.'
- 'At least one enzyme is needed.'
- Too many enzymes are selected. Only two are allowed.'
- In Restriction cloning, the backbone and insert must be cut twice each. The same enzymes must cut the backbone and the insert. Therefore, you can only use two different enzymes.
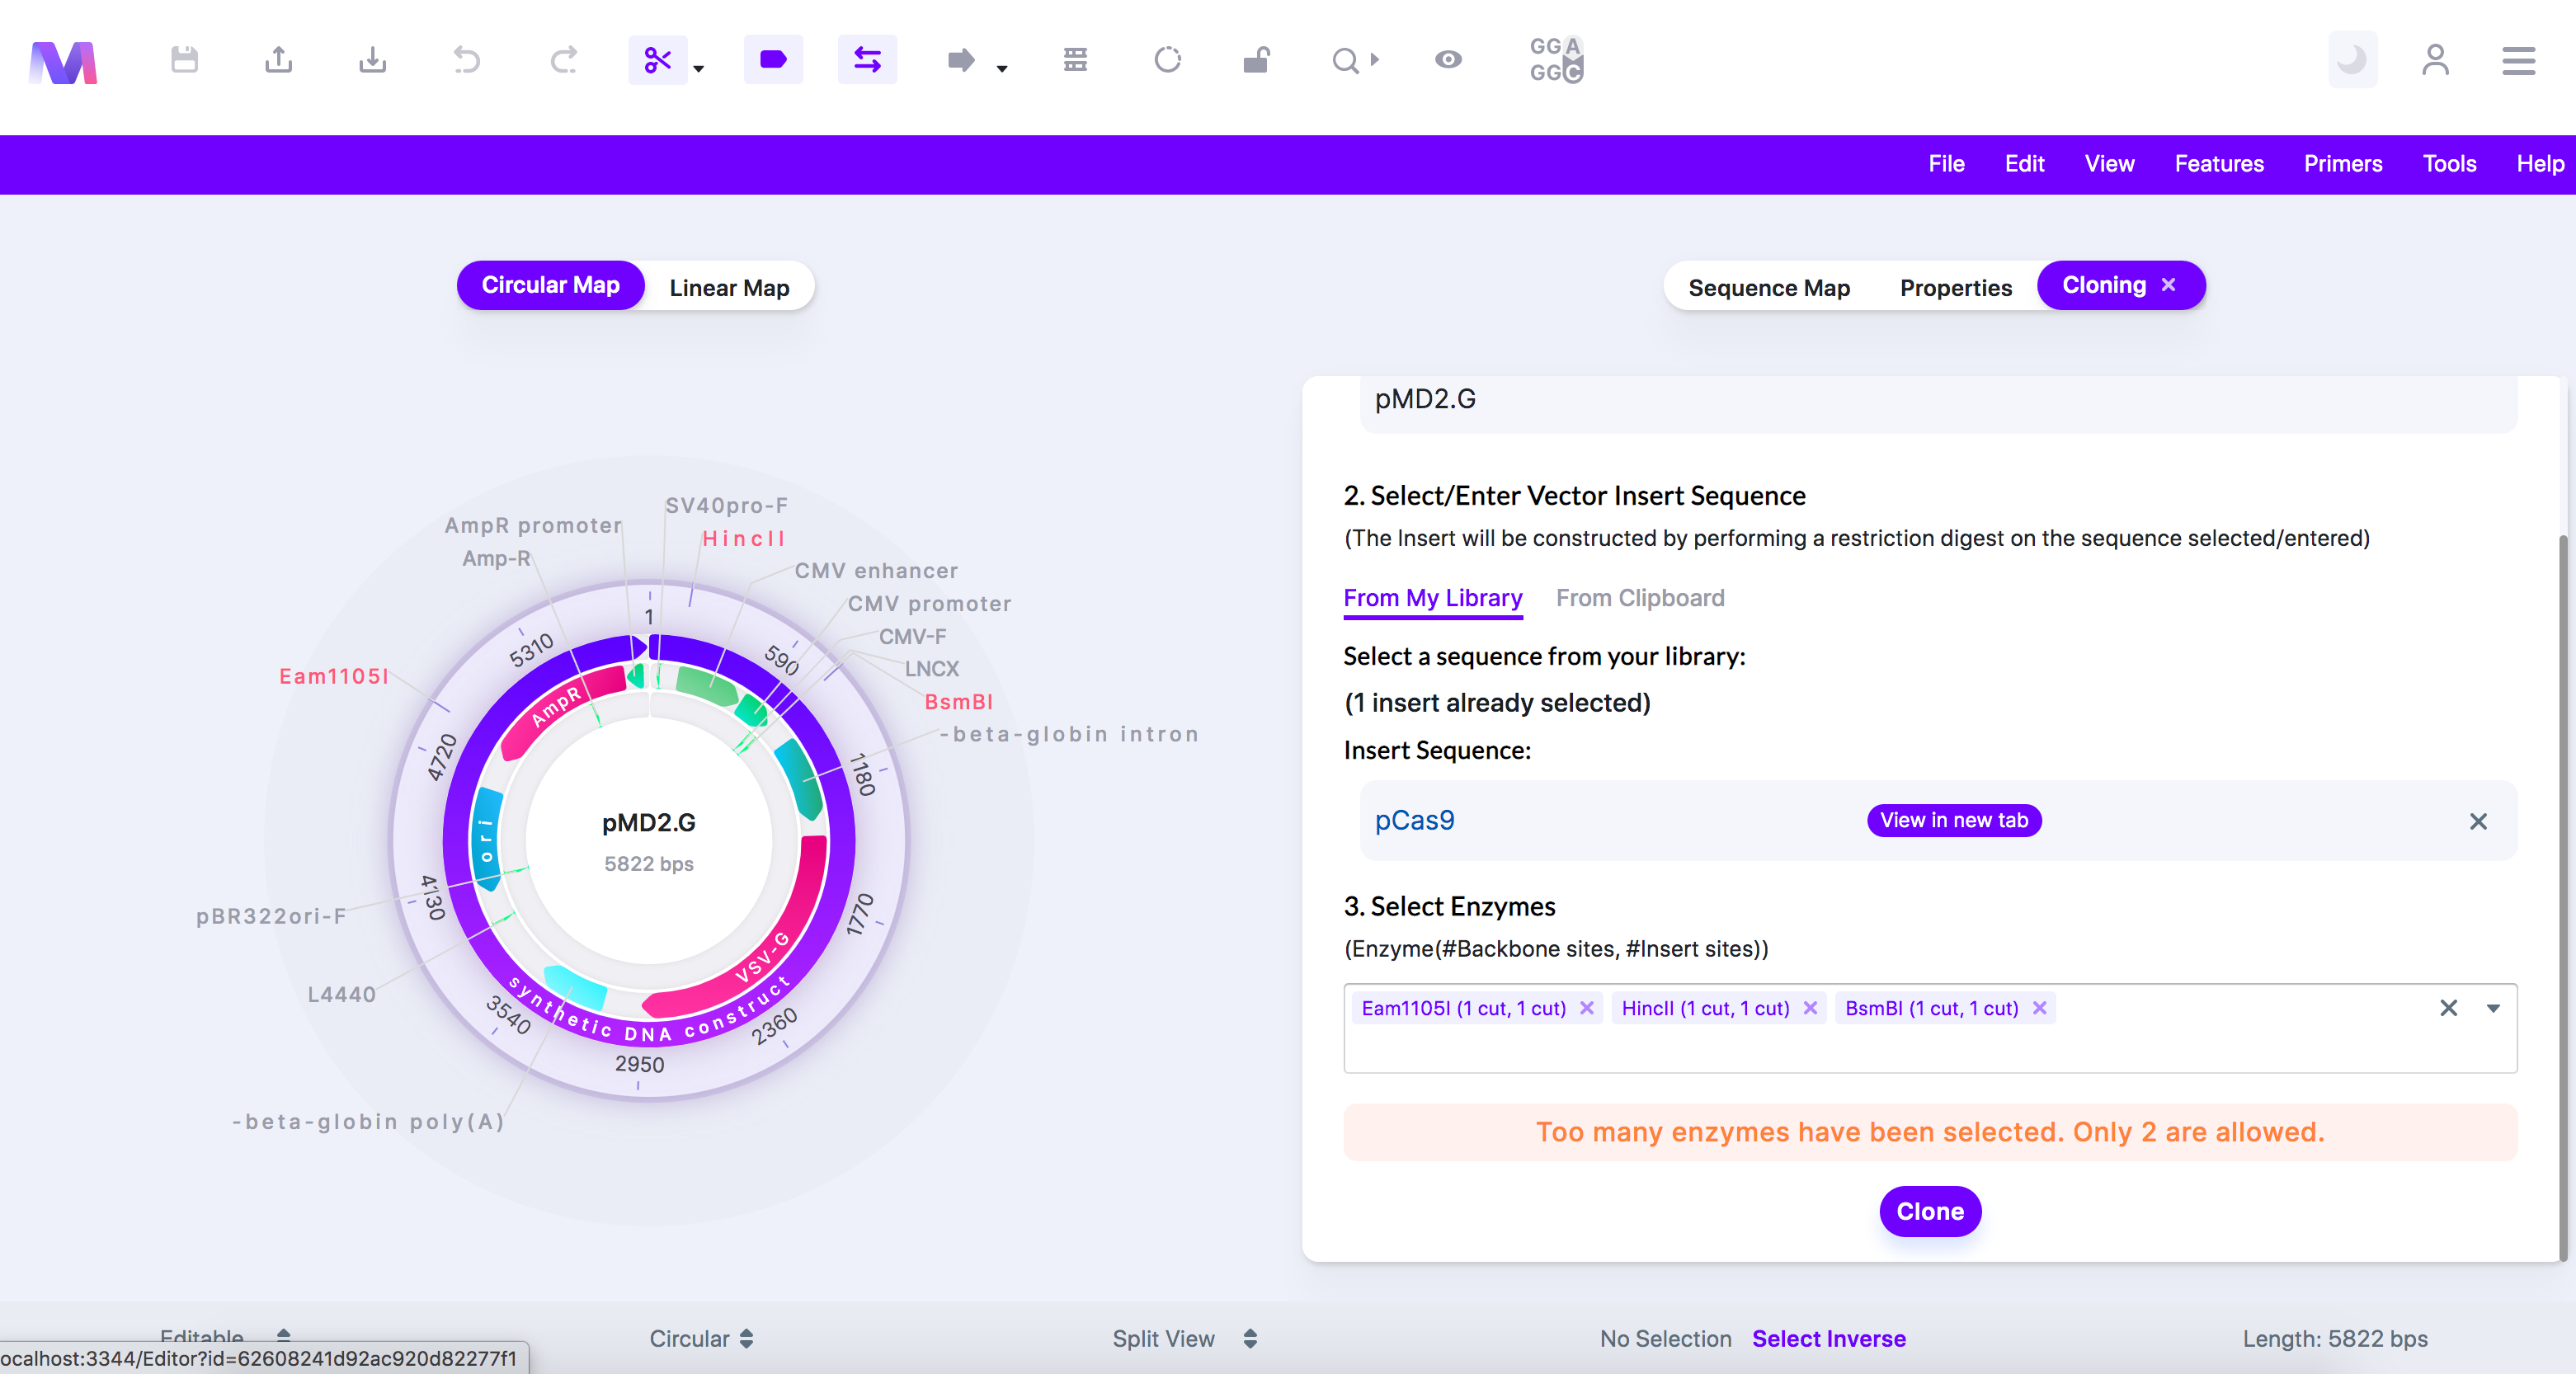
- In Restriction cloning, the backbone and insert must be cut twice each. The same enzymes must cut the backbone and the insert. Therefore, you can only use two different enzymes.
- 'These enzymes do not cut the backbone.'
- Every enzyme selected must cut the backbone and the insert.
- 'These enzymes cut the backbone too many times.' Only two cuts are allowed.'
- 'These enzymes cut the backbone in the same position.'
- Both selected enzymes cut the backbone within the same recognition site. These multiple cuts ruin the enzyme recognition sites, and thus the insert fragment will not be able to anneal with the backbone.
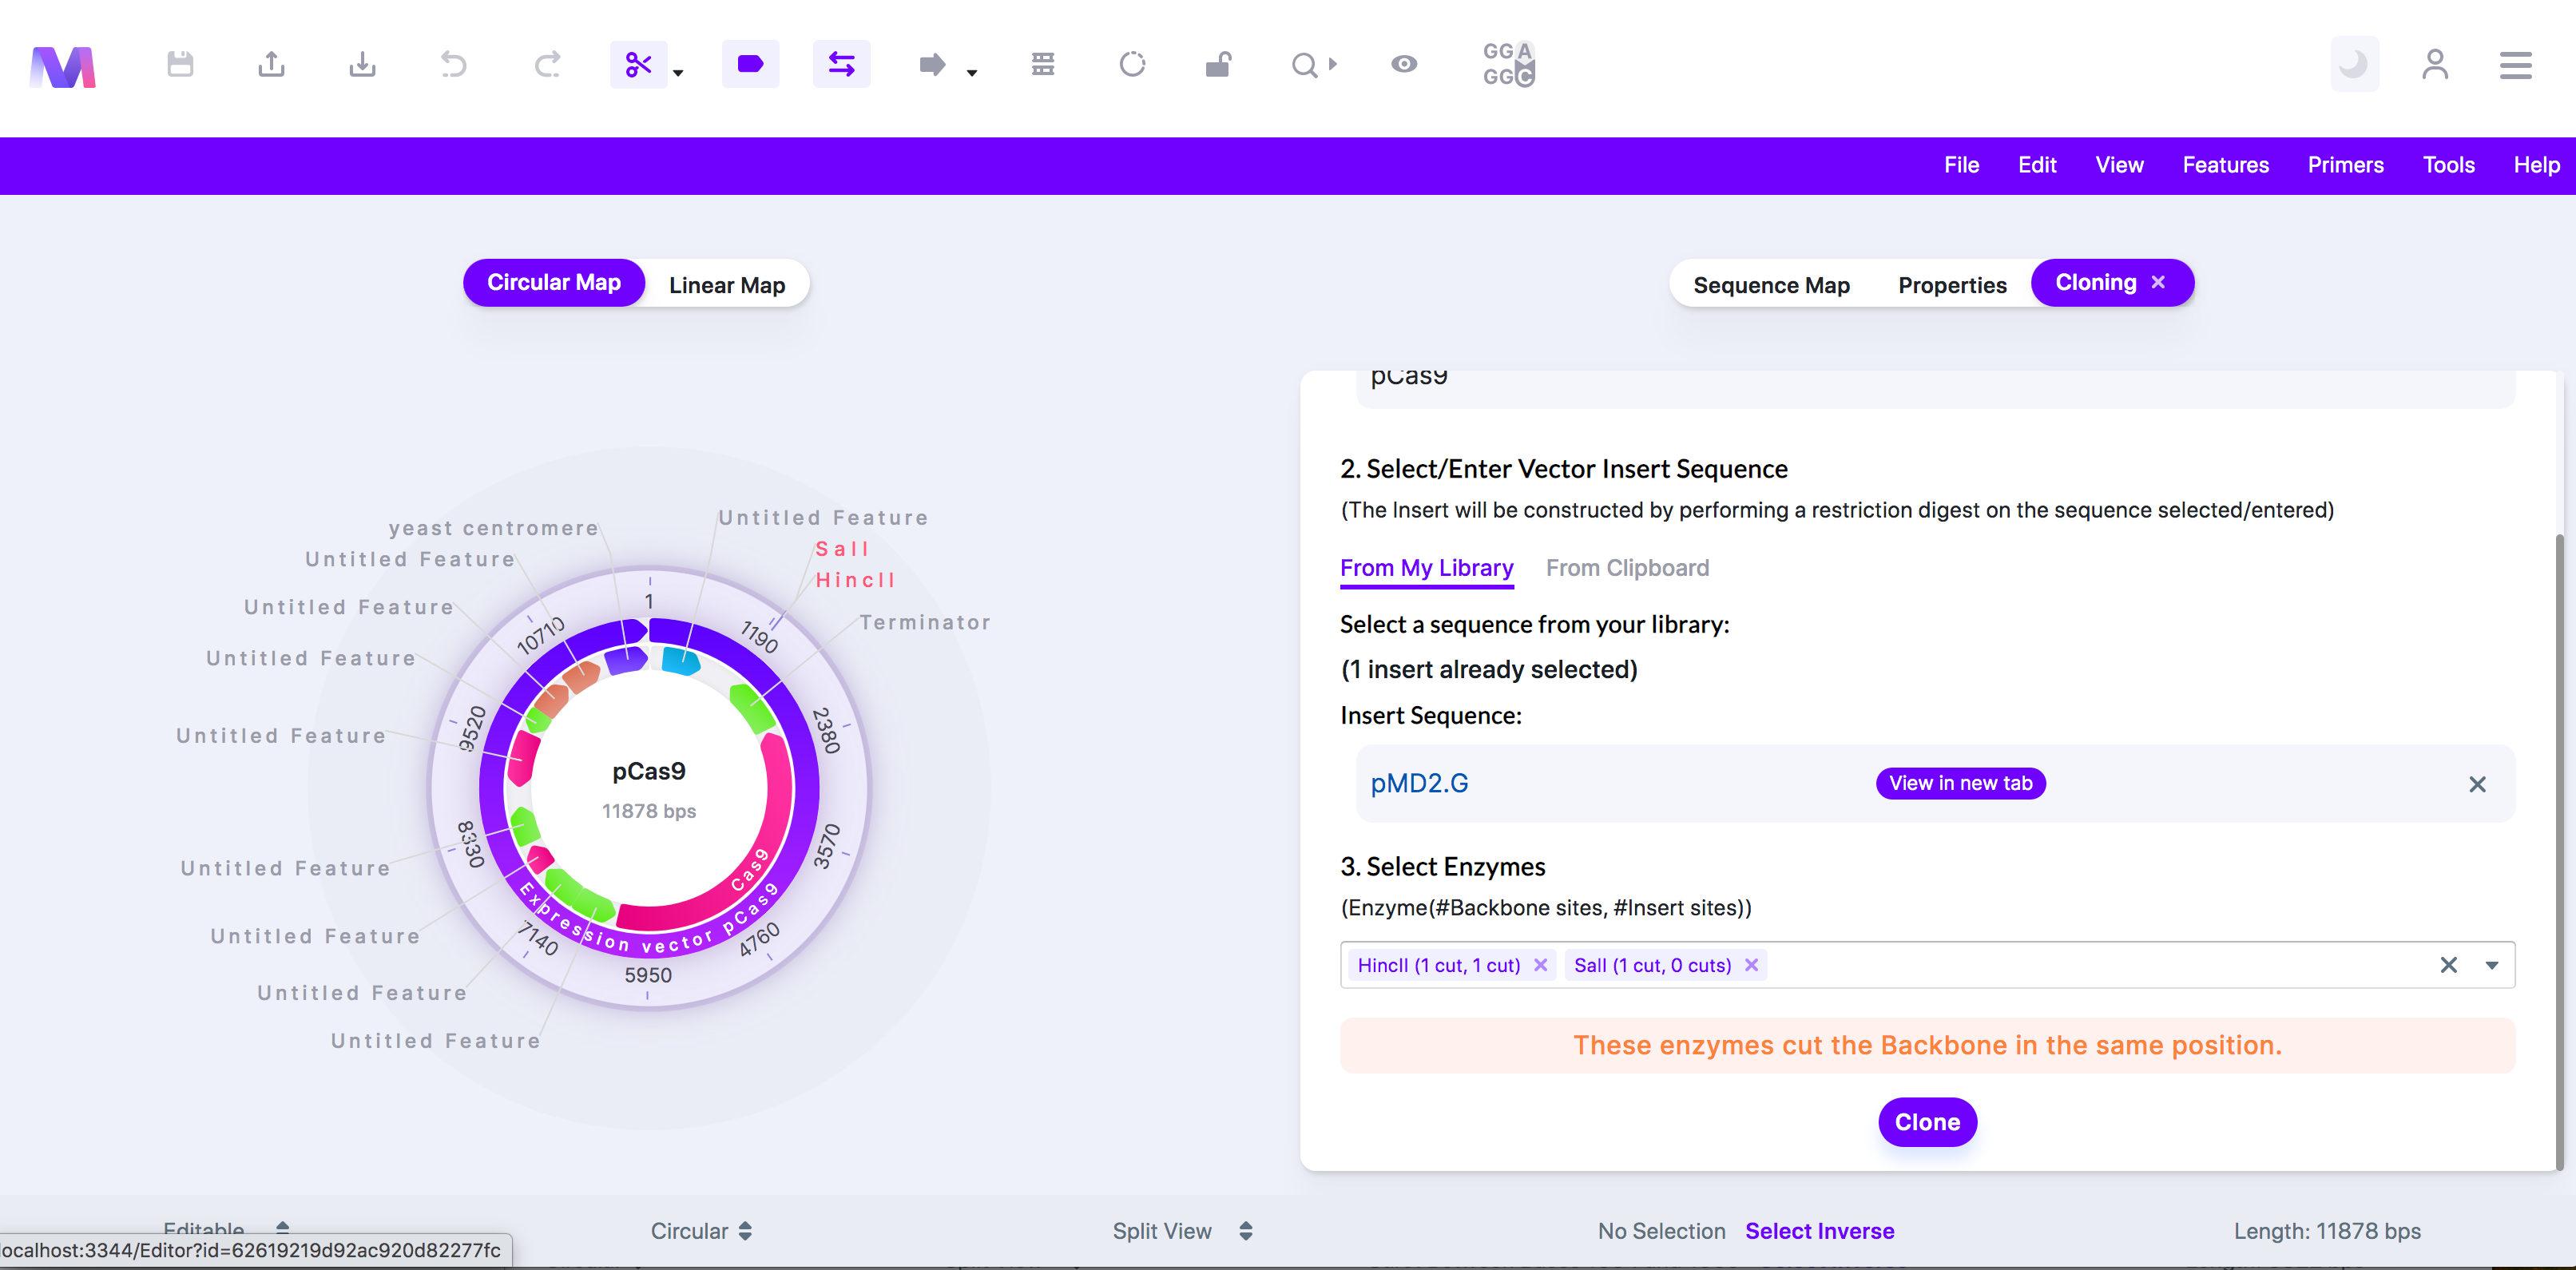
- Both selected enzymes cut the backbone within the same recognition site. These multiple cuts ruin the enzyme recognition sites, and thus the insert fragment will not be able to anneal with the backbone.
- The enzymes do not cut the insert '(insert name provided).'
- The enzymes cut the insert '(insert name provided)' too many times. Only two cuts are allowed.
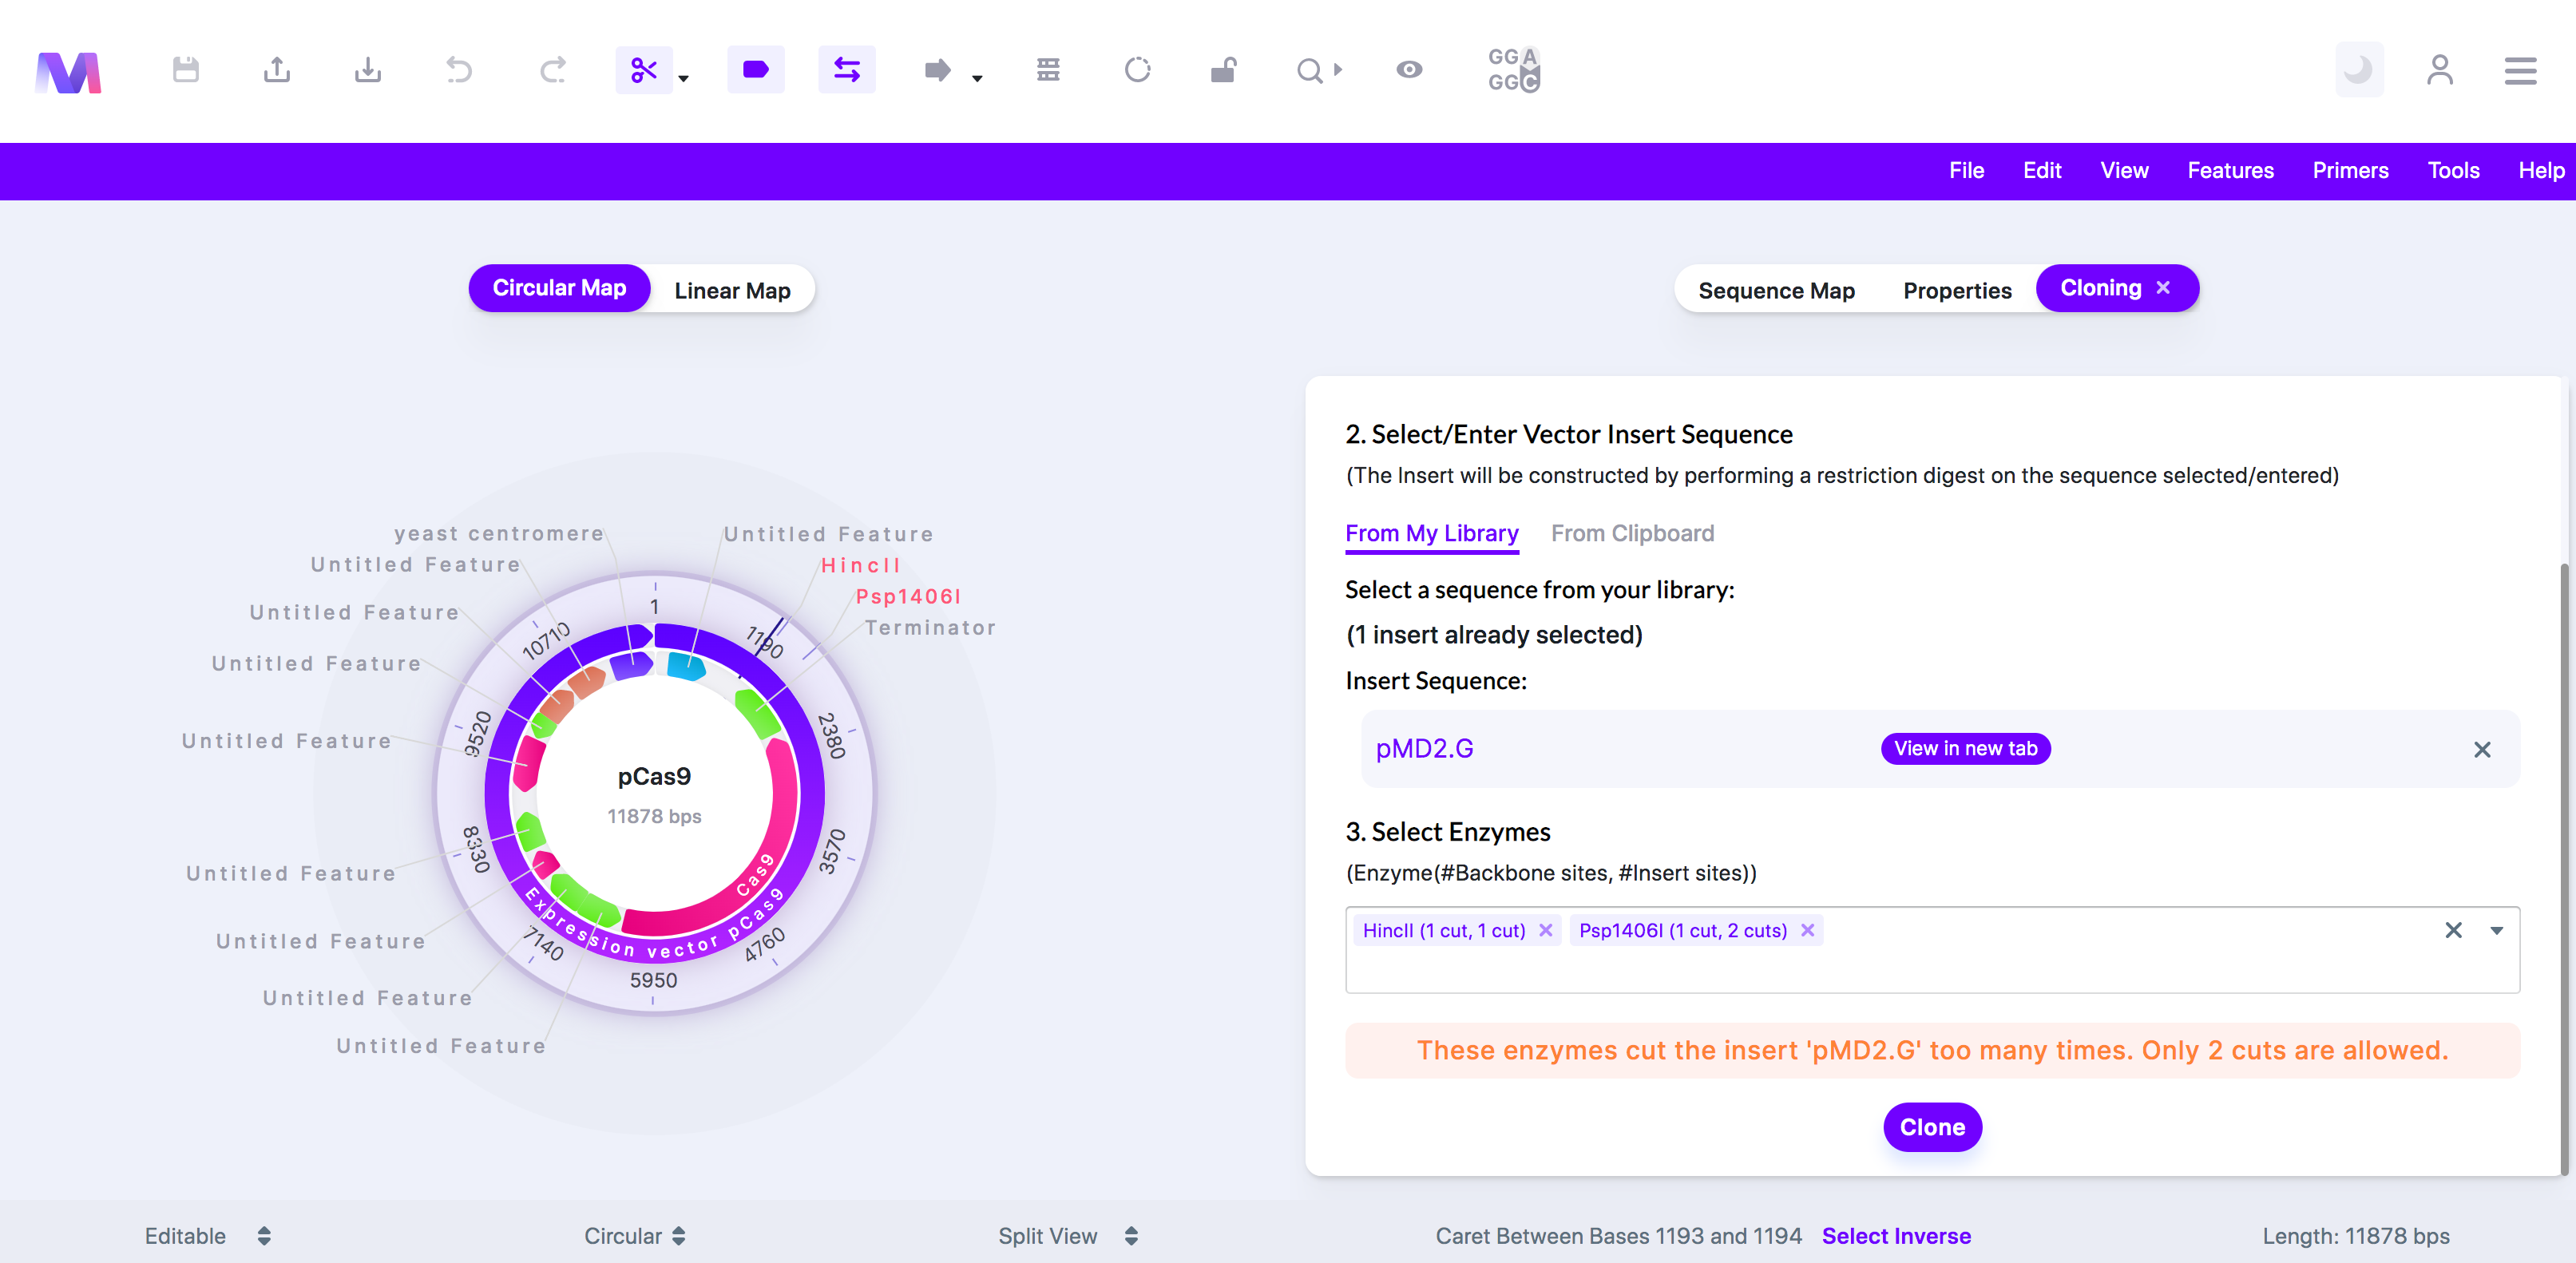
- These enzymes do not cut the insert '(insert name provided)' two times. two cuts are required.
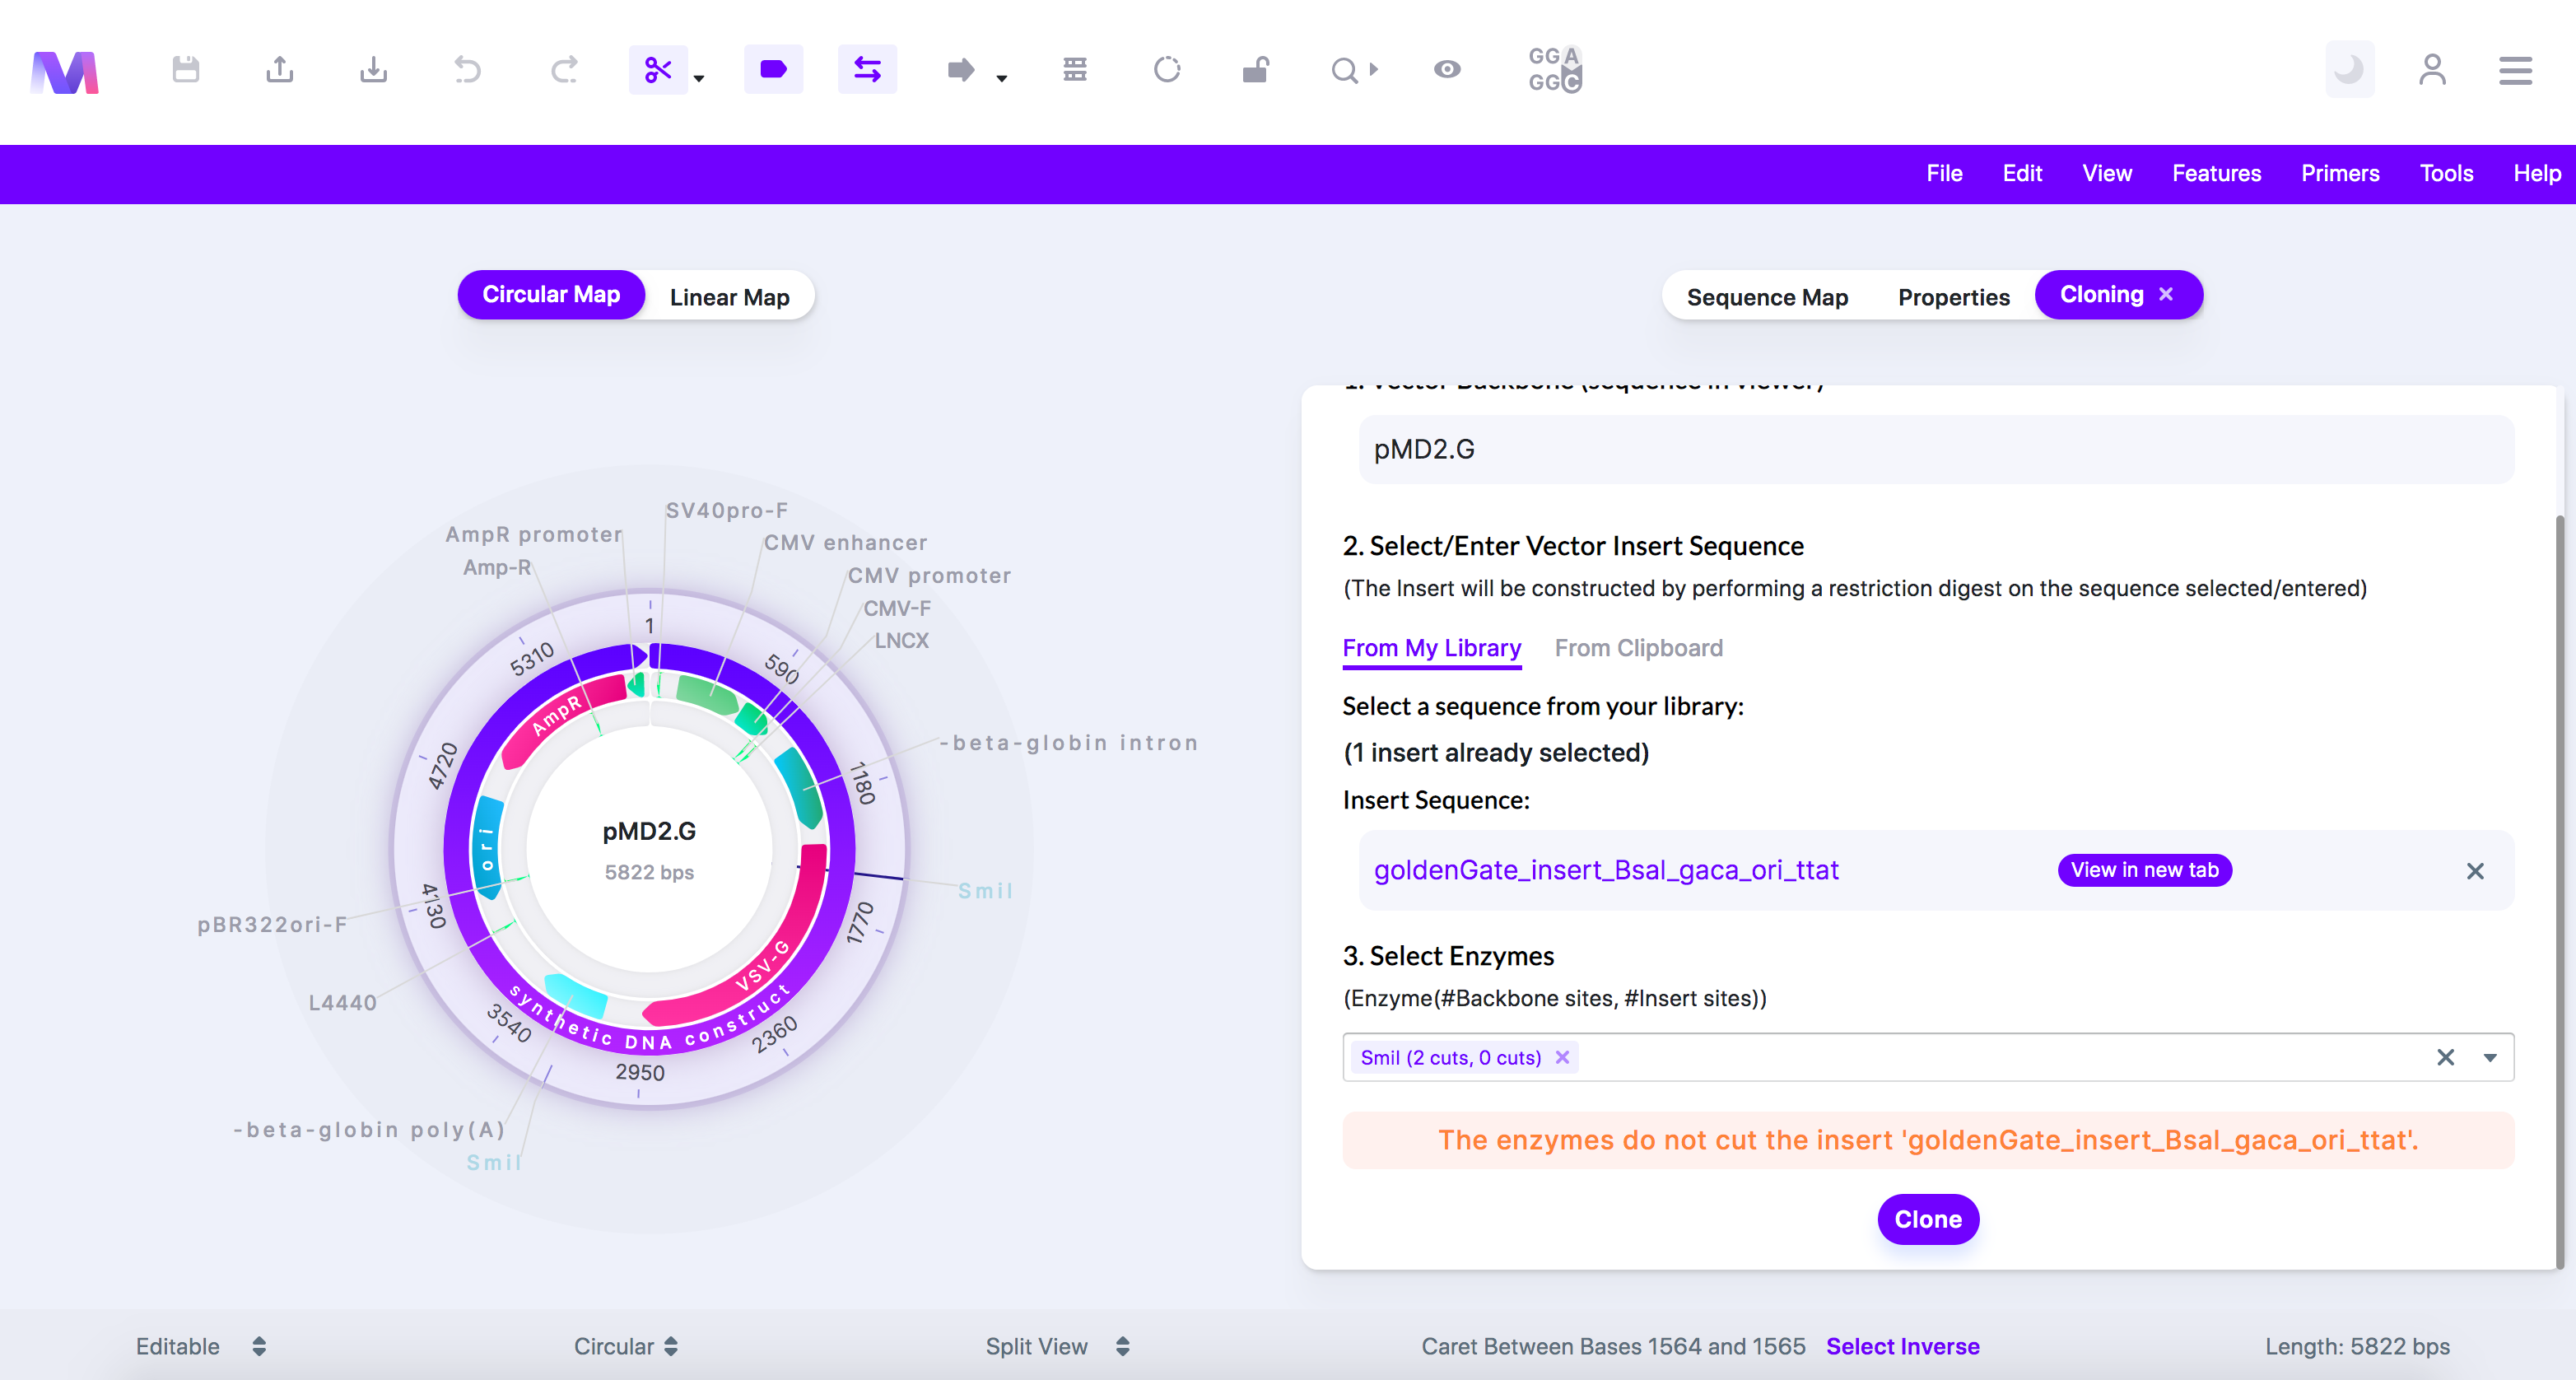
- These enzymes cut the insert '(insert name provided)' in the same position.
- Both enzymes selected cut the insert within the same recognition site. These multiple cuts ruin the enzyme recognition sites, so the insert fragment will not be able to anneal with the backbone.
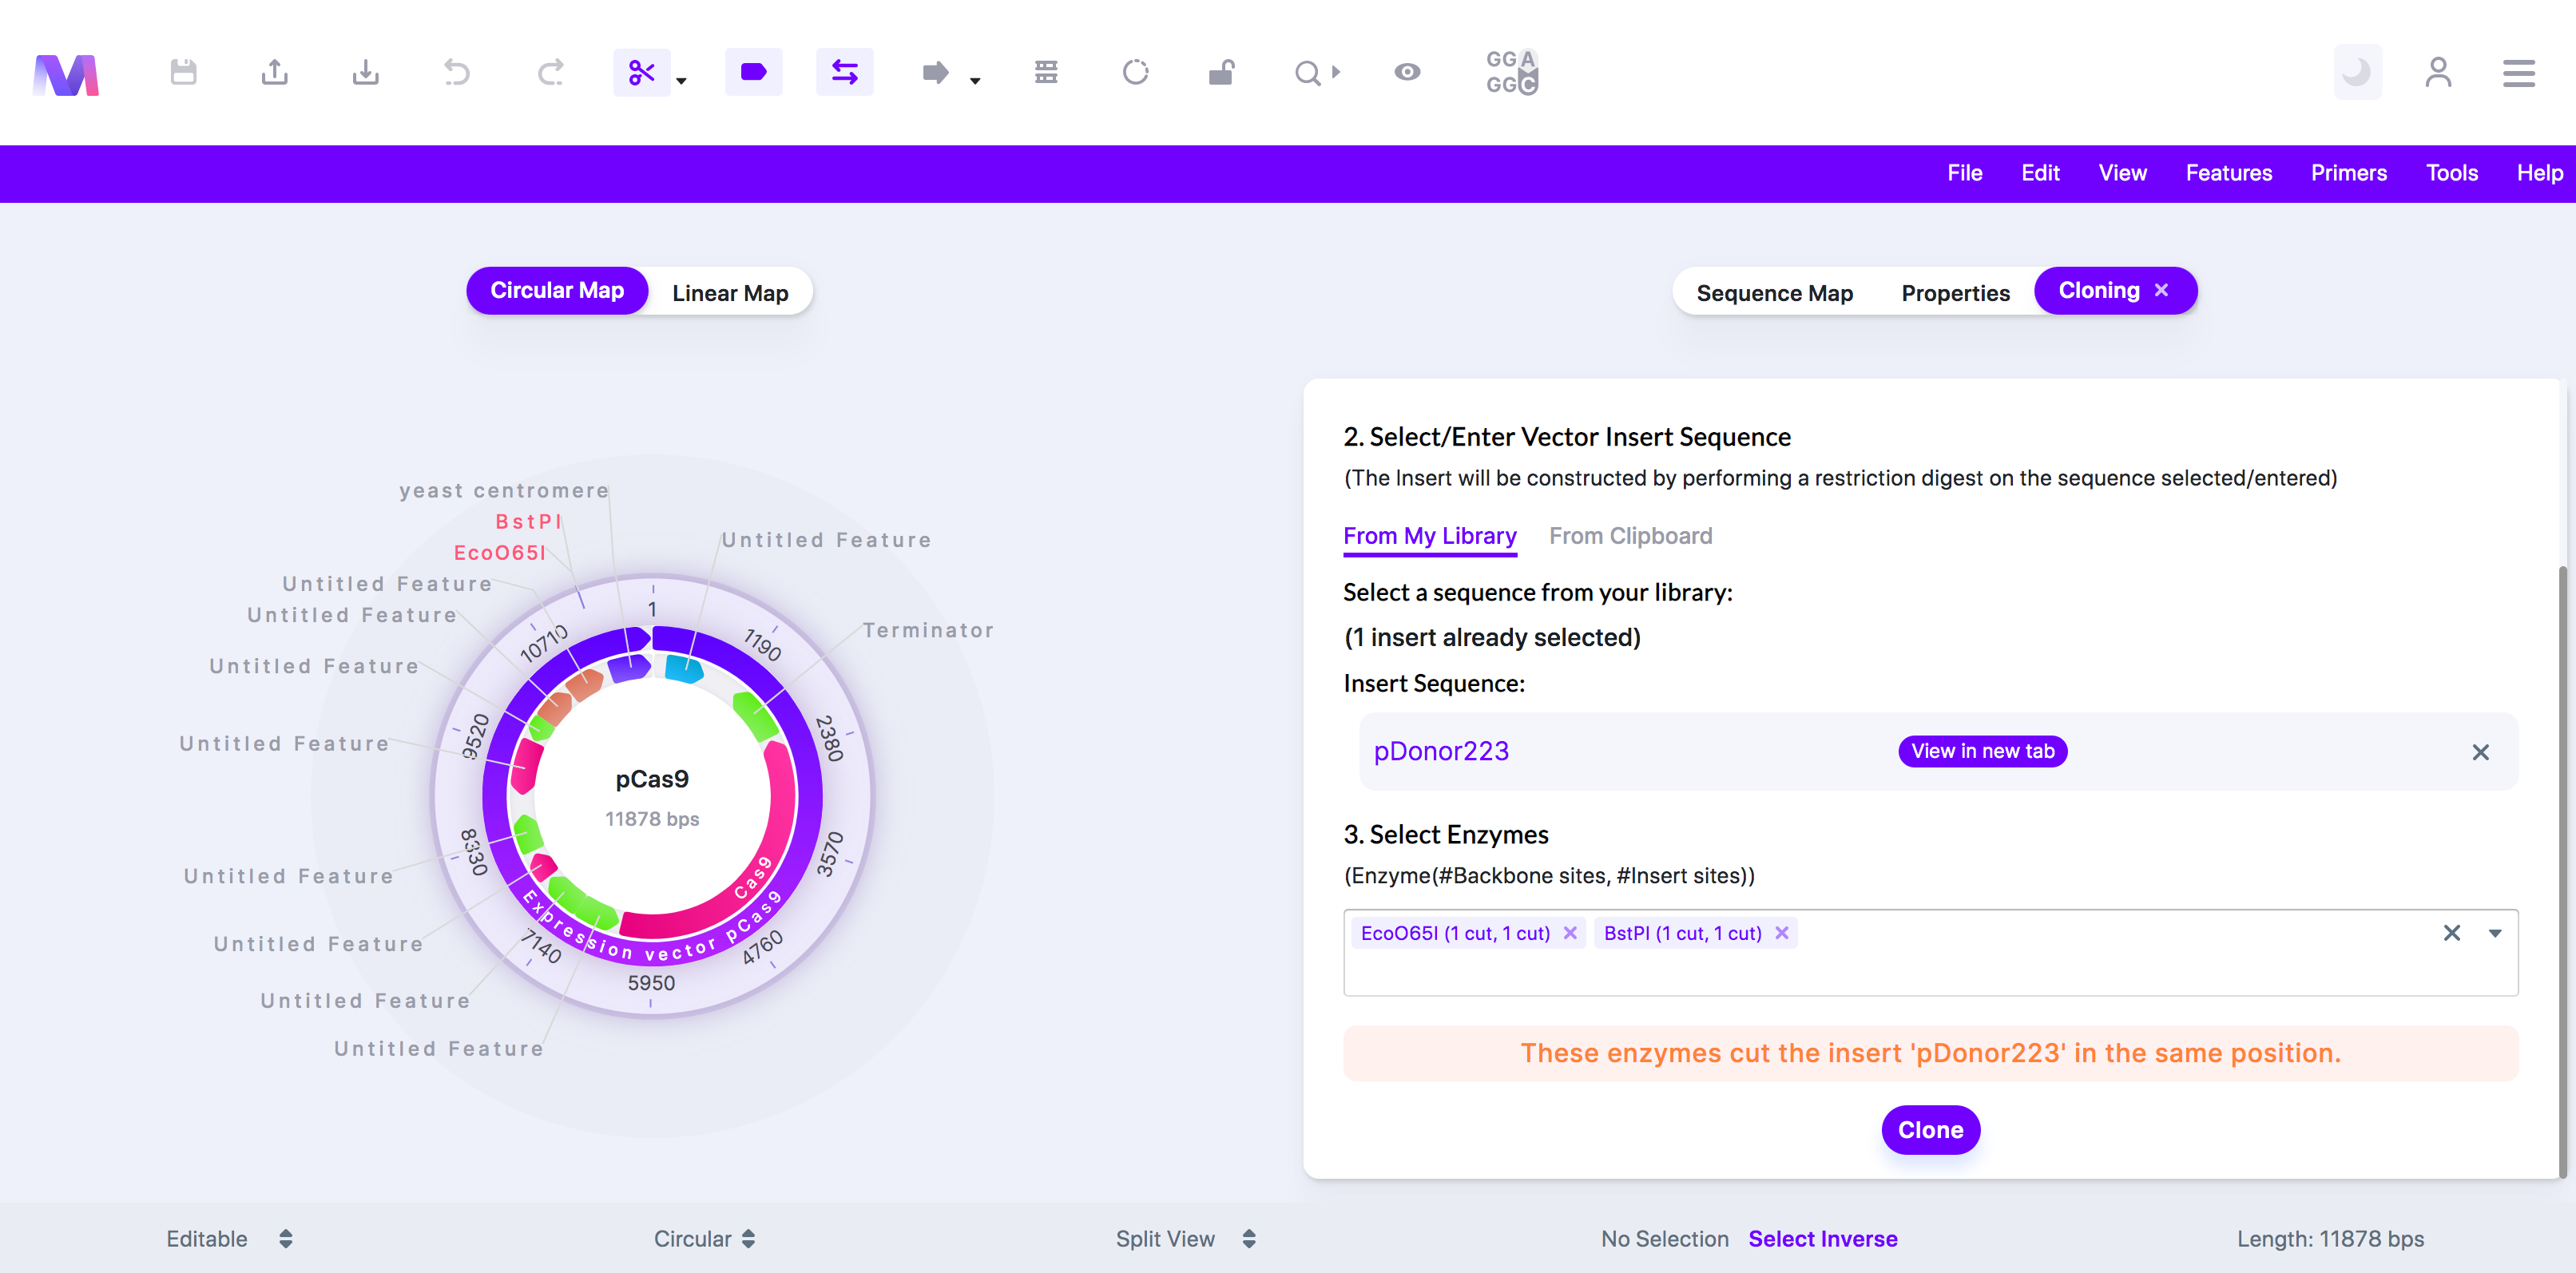
- Both enzymes selected cut the insert within the same recognition site. These multiple cuts ruin the enzyme recognition sites, so the insert fragment will not be able to anneal with the backbone.
- Congrats! Your final vector is ready in the circular map viewer. 🥳
- Mendelgen simulated the following:
- Digestion of the backbone.
- Digestion of the insert.
- Ligation of the insert fragment into backbone to produce your final cloning vector.
- Mendelgen simulated the following: